Recently I have been working hard on restoring this furisode. It’s been a colossal pain in the ass with a lot of internal screaming and, when the hour is appropriate for the noise, external screaming! Which isn’t to say that it’s not going well. That’s just how I work on things. With angst and screaming. My zen is screaming.
The stain removal process is largely complete, so I got to restoring the kinsai. The gold leaf paint. It’s going well. Kill me.
So today, I would like to show you how I make the gold leaf paint. I’m about out of it, and need to make more anyway. It’s not hard, it just takes awhile and is dreadfully boring. There’s so much to hate about it. But the results are to die for, so here the fuck we are!
You will need the following:

From left to right, the materials are a shot glass full of distilled water, Jaquard brand Gum Arabic, 24kt food grade gold leaf, a ceramic container. I’m using a cute little made-for-export Satsuma peacock container I picked up at a thrift store a few years back. I like using ceramic or glass as a container for this. It makes the grinding easier.
Now, let’s begin! We will start with WASHING THE LIVING SHIT out of our hands. You can use gloves if you want, but I decide how much of each ingredient I need by how it feels. You want squeaky-goddamn-clean fingers with no moisturizer before you touch anything. Once properly cleaned or gloved, put a pinch of gum Arabic into the container. I scoop it out using a 1/2 tsp measuring spoon, but that absolutely isn’t how much is in here. Use about 1/5th of that measuring spoon.
Next, peel back a gold leaf sleeve, dunk a finger into your distilled water to get it decently wet, and gently tap the gold leaf sheet in the center-ish to lift it. It’ll come right up.


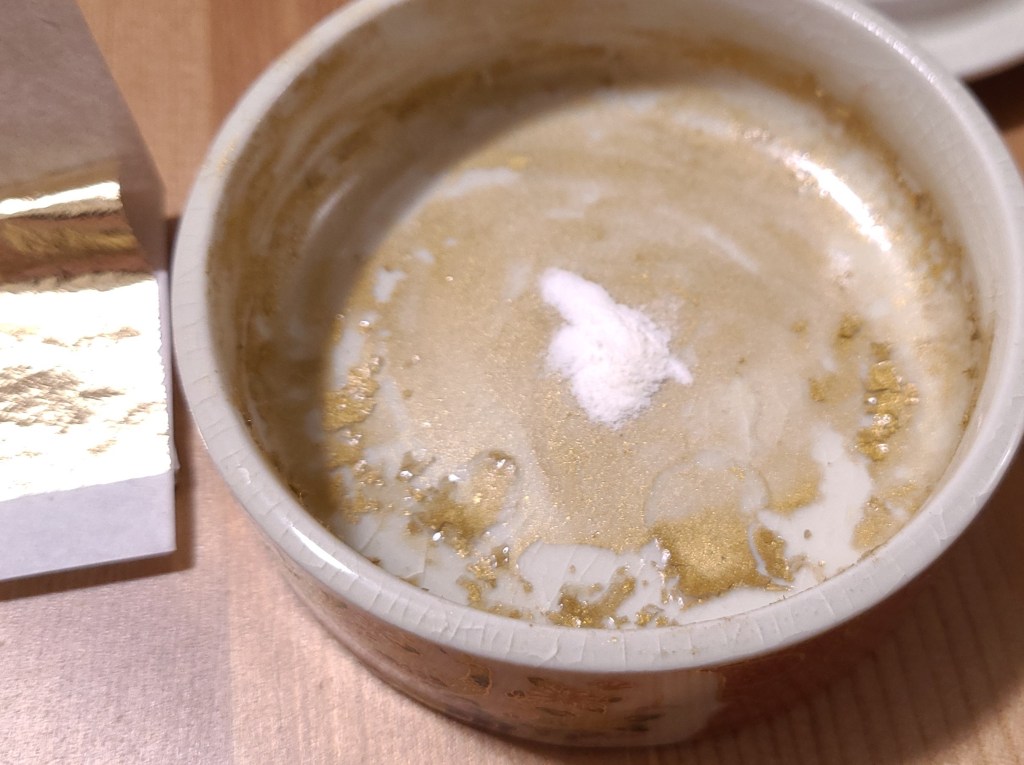
Gold leaf secured, ram that fucker right into the gum Arabic pile we made in the container, and start grinding. Do it like it owes you money. The water will mix with the gum Arabic to make a paste. That’s good. You want that.

Then it’s a lot of grindy-grind-grinding as you slowly add a little more gum Arabic and water as you add more gold leaf. Note that you don’t have to get them to perfect consistency before adding another leaf! I actually prefer to make something of a crappy oatmeal with them, because then they’re all grinding against each other. Let them do the work for you!


I’ve made a few “gum Arabic looks like cocaine” jokes so far. I’m not sorry.
As you add more materials, use a medium pressure with your finger to grind. Continue to add small amounts of gum Arabic and water if you feel like progress has suddenly stopped, or it gets too dry. Be more cautious with the gum Arabic than the water–the water will just evaporate if you use too much. You also don’t want to press too hard, or the gum Arabic goop will slip right out from under your fingertip. A medium pressure lets the flakes of gold dissolve into the goop instead of just smooshing about uselessly. I also like to vary speed and direction. No reason, I just get bored.

Keep at it. After like a good half hour to forty-five minutes of this crap process, and you’ll start to see that most of your mixture is starting to really resemble paint! When everything is ground up and the consistency feels right, I like to use the remaining distilled water to rinse whatever gathered on my finger into the dish. I scrape onto the sides of the bowl as well.
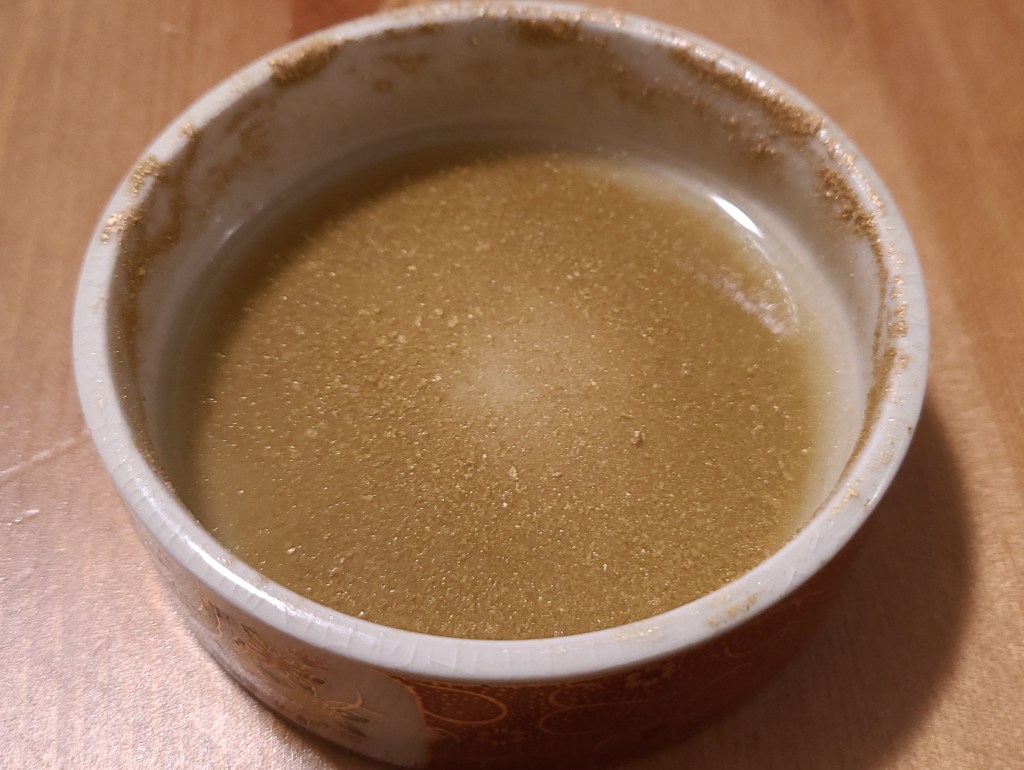
YOU DID IT. AND NO ONE WAS HARMED! Although, it could take longer depending on how much you intend to make. I only make small batches at a time, because otherwise I might be inclined to burn the house down. That’s not ideal.

Things to note! This mixture will dry hard, and it can be reactivated the same way watercolour is! Simply get it wet. It has pretty impressive adhesive quality on its own, but if I’m painting on fabric, I like to add Jaquard Colorless Textile Extender to it in very small amounts. You can also add this to pigmented paints for pretty impressive effects. Just be picky about what you add it to, because it’s real gold, and is therefore pretty pricey.
I hope you find this useful! If you have any questions, please feel free to leave a comment or send me a message.

Recently I bought an ichimatsu doll from the 1920s with a pretty kimono that needs some work. And here are your excellent tutorials! Thanks.
LikeLike
Thank you so much for this!!! Very relevant to something I want to repaint ☺️ Do you suggest this method of gum arabica + leaf for silver paint as well?I bought silver fabric paint before learning of your blog and now I think maybe my original plan is not that good 😅
LikeLiked by 1 person
This method absolutely works with silver leaf as well.
Using silver tinted fabric paint is actually just fine, usually. In the case of Great Grandma Akiye’s furisode, real gold and silver were used on it to begin with, so I used real gold and silver to repair it.
Most modern kimono do not use real gold or silver, and matching to a paint will do just fine. I prefer Jacquard brand to match colors in that case.
LikeLike