A day or so ago–or it could have been two days, what even is time–I posted the following pictures to the Global Kimono community on Facebook, and oh boy did I get the questions.


I’ll start with telling you what you’re looking at, if you aren’t part of that community or didn’t see it. This is the hem of this hikifurisode that I incorrectly labeled as a kakeshita and haven’t bothered to correct yet because I’m fucking lazy. What happened here is moisture damage that didn’t leave behind any mold or anything, but it did displace a fucking massive amount of the pigments used to paint the cute little kai-awase (shell game) pieces. Unfortunately, that means the dingey bullshit in picture one there isn’t really a stain to be cleaned. The pigment is missing and what does remain is severely discolored.
So what’s a goddamn psychopath restorer to do in such a case? Well. Uh. In very plain terms? I painted just the fuck over it!
It’s a little bit more complicated than that. I’m going to go over my process a little here, but this isn’t organized enough to be a proper tutorial. You could probably follow it and get similar results, though.
What I’m going to show you is my materials and methods. Also, as someone scary good at it, let me be very clear about some shit: color matching is not a talent. It is a skill that pretty much anyone can learn! And while I’m not going to teach you color theory or my recipes, this book will!


And how useful is it? Wweeeelll…
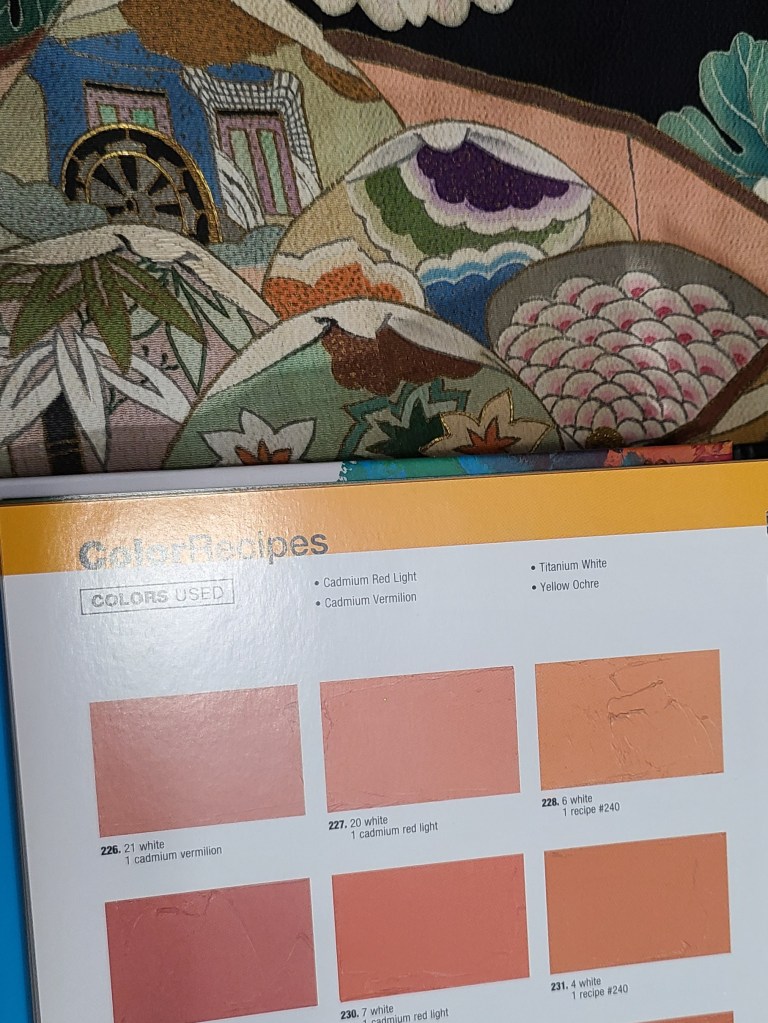
You tell me. A few of those would work with just a little tweaky-tweek, right?
Alright. Let’s get started. For this demonstration, a lot of people asked me if I had videos and such. I almost made a video for this, but I’d rather chew broken glass have a lot of trouble with that in my current workspace. I’m trying to build a better one, but it hasn’t happened yet. So you get pictures. You’ll live.
I decided to go with this part of the open kaioke (the box for kai-awase). This part has suffered a similar fate as the shell up at the top, and half of it is dingey as fuuuuuck. BEHOLD:


This image crosses over two panels, so you can tell that one of the panels was less affected than the other. But compared to the lid of the box depicted elsewhere on the kimono, they’re both pretty washed out.
I’ll start with my materials. Here are containers that I have near me at all times.
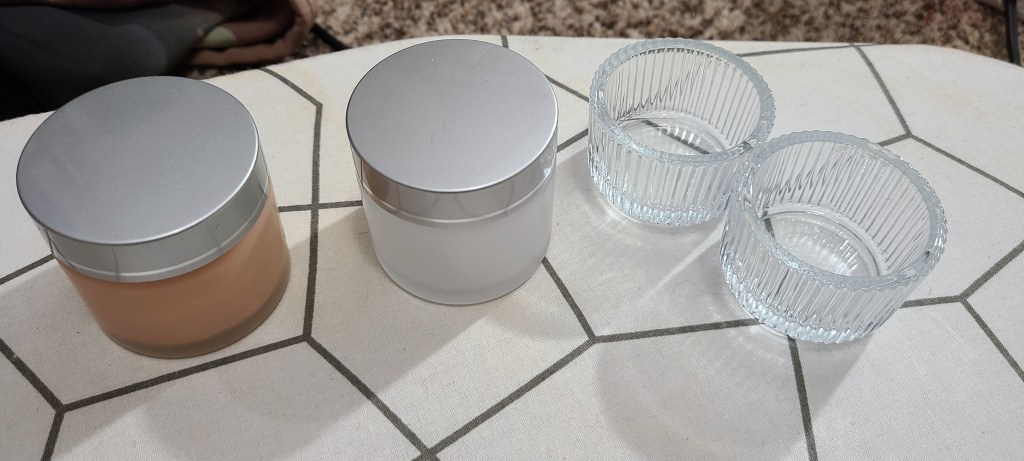
They are all made of glass. The two without lids are actually tea light candle holders I got from Ikea for 99¢ (USD) a piece, and you really can’t beat that. The two with lids are cosmetic containers, and I use them to store large custom mixtures that I encounter a lot. And you know what? This color I’m about to replace actually shows up a lot on antique kimono. Sometimes it’s a little warmer, and sometimes it’s a little colder in hue, but having a base that I can just adjust a little already made is fucking swweeeeet.
Literally do whatever saves you time. Because the most important tool you will need is a lot of fucking patience.
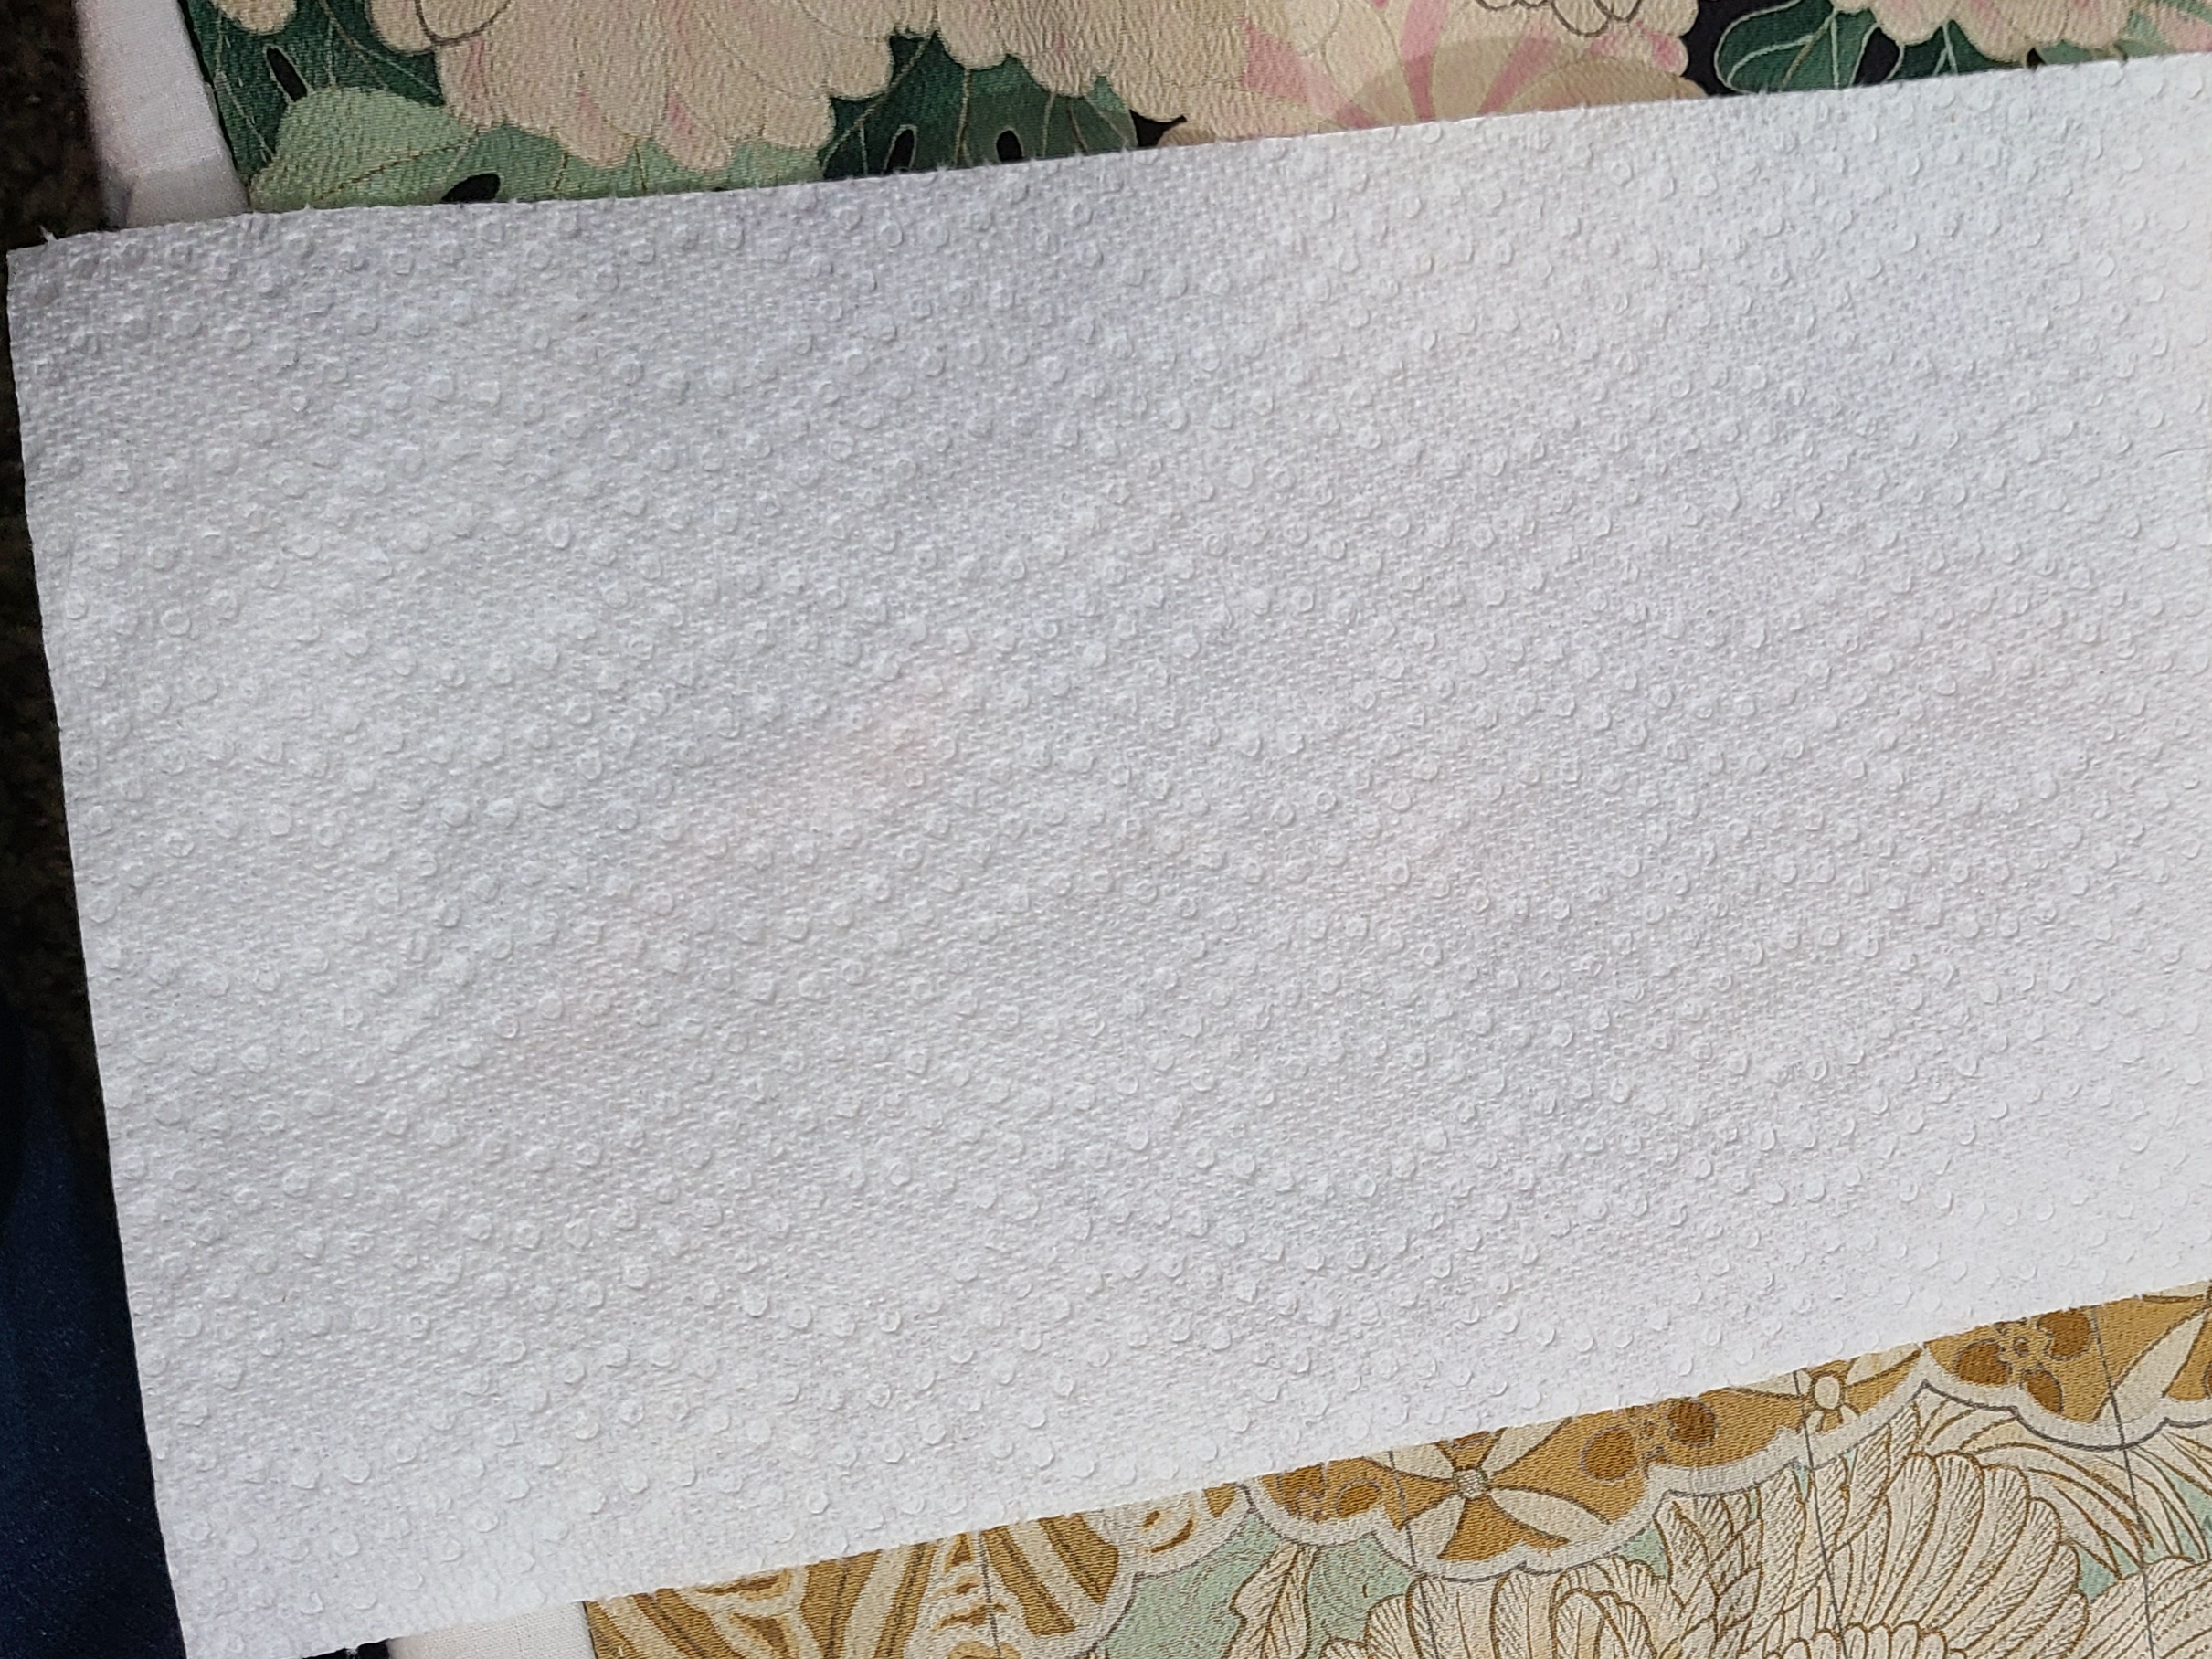
So I put some of my premixed shit in one of the short glasses and then played with the color a bit until I got what I wanted. I sample it on a paper towel to compare. Never, ever, EVER experiment on your kimono. Or I’ll kill you. Abuse the paper towel, that’s what it’s here for.

With my mix decided on, let’s get weird!
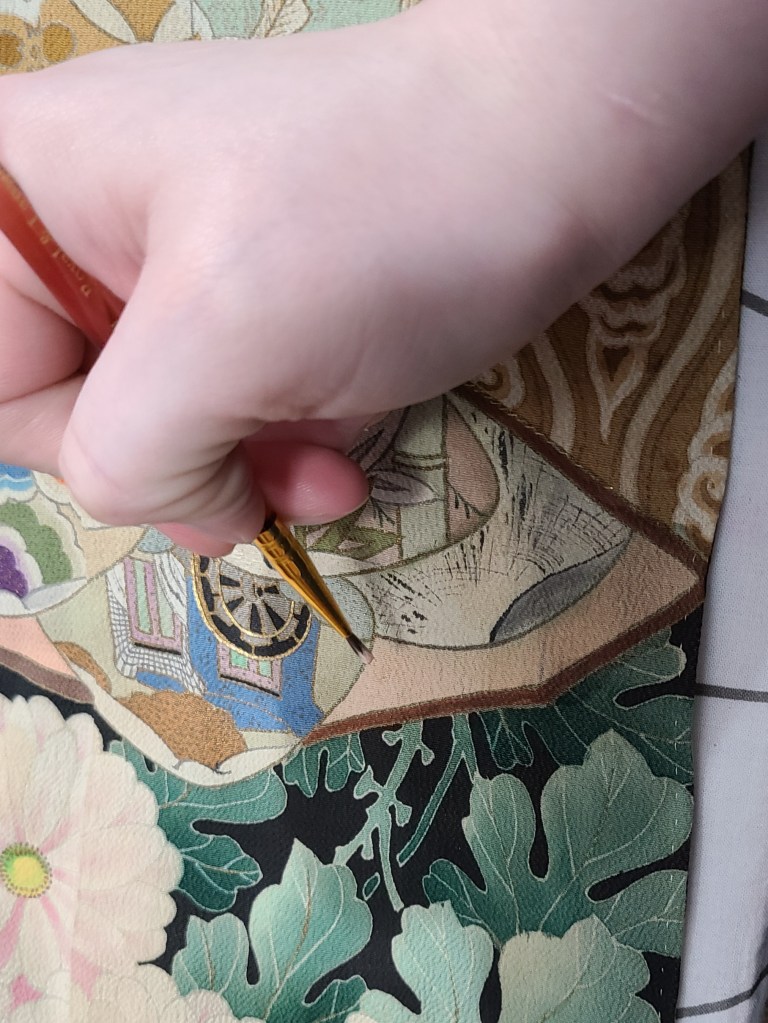
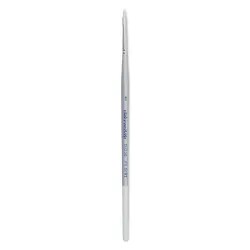
I don’t know why I bothered to capture a picture with this brush–it’s not the one I use the most. This is:
Work slowly, mind your coverage, keep your brush moist but not dripping, and stir your mixture every now and then. Some pigments are just heavier than others, don’t let that fuck you up. Lay down a layer of pigment, and wait for it to not be so shiny-wet. When it’s right, we lay a paper towel over it and heat set it, like so.

Do not–I repeat–do not use steam. And you don’t want to let the iron on for more than ten seconds at a time. Silk is sensitive to heat, so working in layers and heat setting between them is very helpful sometimes. But hell, a benefit of mixing your own pigments is that you have some control over how opaque it is.
When it’s properly heat set, it doesn’t move. Behold my clean-ass finger:
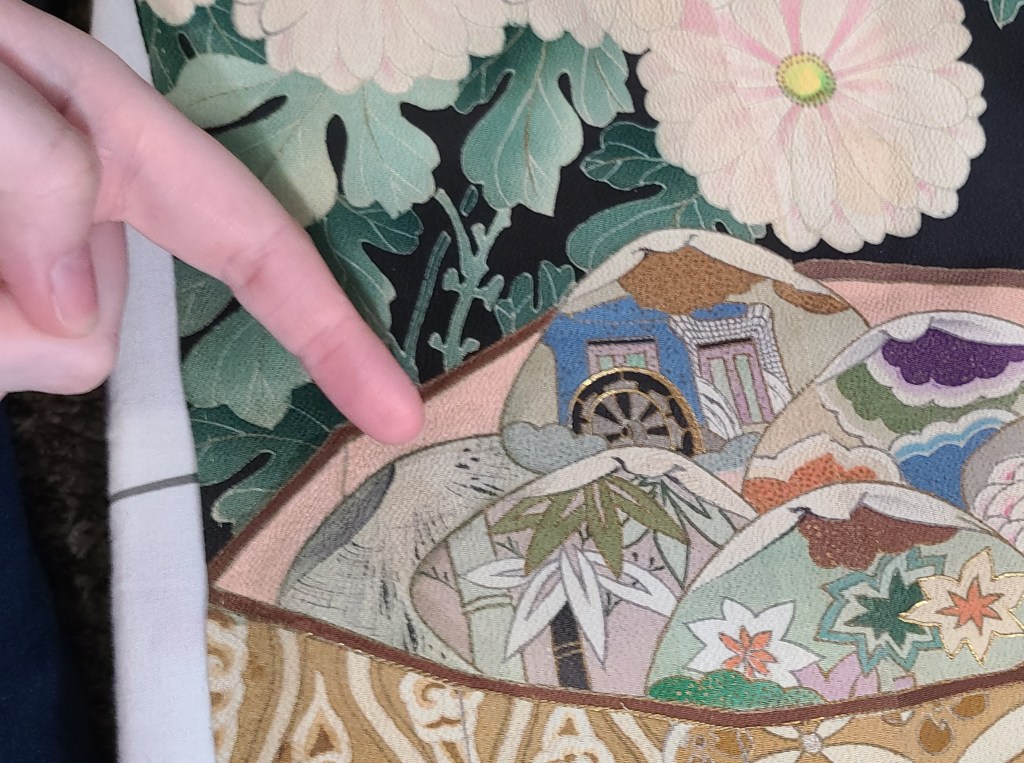
As a word of caution, let your fabric cool before adding more pigment. Because it can, sometimes, be warm enough to heat set as it goes, and that’s not always a problem but when it is, it’s a huge goddamn problem. You’ll probably need two or three layers for consistent results, or if you’re doing a gradient like the shell above. After a few rounds of this, we have our results:


In the second picture there, I am comparing my results to the lid of the kaioke (shell box) that is elsewhere on the kimono, and undamaged. As you can see, they’re near identical in color now! FUCK YEAH.
You’re next, chucklefuck.

Now to go over some details about the process that I didn’t think of until right now.
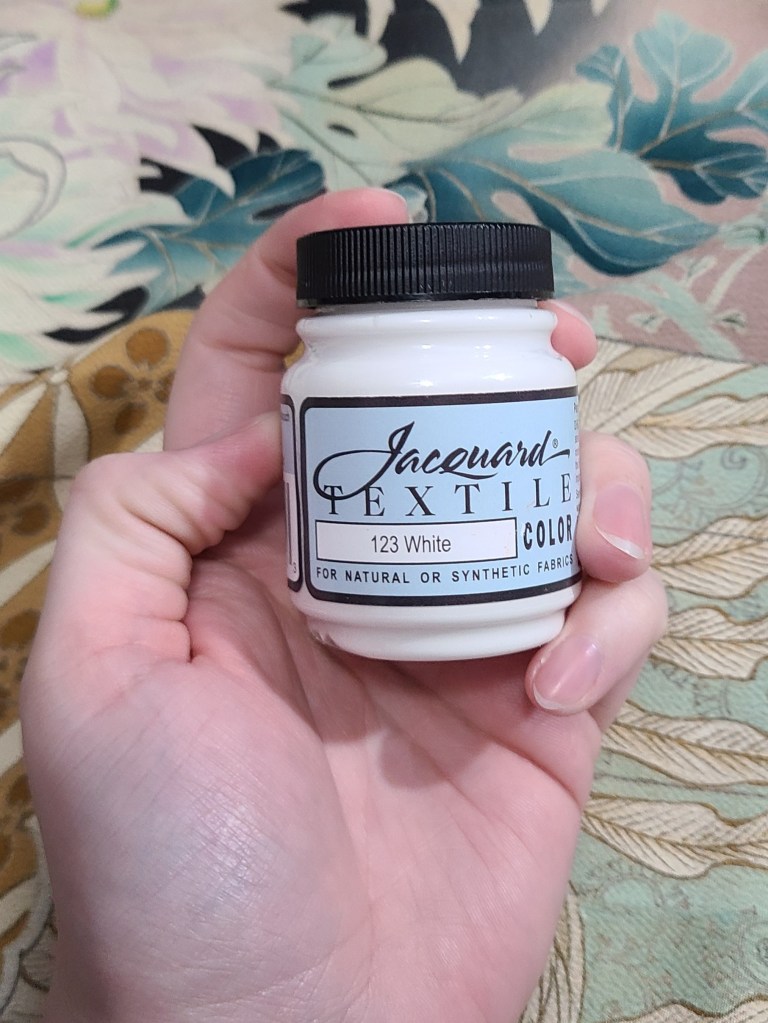
What kinds of pigments do I use? Some are powders or liquids that I mix manually, but I’m very partial to this product, and some version of it ultimately ends up in every mixture:
Do I have to put something between layers when I’m working? Weeeelll…I recommend that you do, and I have a tutorial about opening and closing a seam for things like that. But to be honest, when I’m working with this stuff, I tend not to. It’s not particularly watery, and if I work in small layers between heat settings, it doesn’t really penetrate. It sits on top. That’s why it’s so good at covering shit!
Here’s the reverse side of the spot I was working on, which would be on the hakkake (inner skirt lining). As you can see, there is no bleeding.

But! I am very familiar with the consistency and behavior of this material, and it makes me very confident when it comes to predicting what it’s going to do. If you’re not, then don’t fuck around.
Does this paint dry stiff or cover the texture of the silk? If you use enough of it, probably. But at the consistencies displayed in this blog entry? No. Not on the little white shell, either. Here I am folding the treated area, and you can still see the crepe texture and it’s soft enough to fold.

Does it have any fumes? It smells a little like plastic, I guess. Nothing I’d call noxious gasses. It’s not a dangerous substance, just don’t feed it to your kids.
Oh no! I dripped/spilled on my kimono! What do I do?! Hahaaaaa. Don’t. Don’t do that. Keep your brush loads small, keep your items in places they can’t fuck your kimono up. But shit happens, and if you do, grab as much as you can back up with a paper towel. Then add water, and soak that up. Repeat until gone. This stuff really doesn’t like to set until it’s heated, so you’ve got some wiggle room, but this works better with some colors than others. If you spill white on black, you can fix that easily. If you spill red on white, just burn it all down, that will hurt less.
Can I use this method to cover a stain that won’t come out? Sometimes, yes! I am doing that on this kimono!
And I think that about covers it! Let me know in the comments if you have any other questions, and I hope this was at least a little helpful!
BYE.

One thought on “A Thing I Do–Pigment Replacement”