As I mentioned in my post about resizing haori, I was handed the opportunity to create another tutorial about patching a hole. Since that haori was decidedly sewn together by a…crazy person…originally, it led to some damage that I had to repair on the fabric as I removed the stitches. I’m not going to go into what, precisely, went wrong with that haori in this entry. There’s really no need to, because I bitched about that at length already.
So today, I’ll be going over patching a hole in a kimono in a way that is meant to be mostly invisible if done carefully. Let’s first talk about expectations. This technique isn’t going to work very well on items that are especially picturesque without additional steps, so if you have a hole in the middle of a design on say, a furisode skirt, you might consider not doing it this way. This technique can be used to make structurally sound repairs as well, but that is always going to depend on the integrity of the fabric around it. If you’re trying to repair shattering like this, you’re going to have a really bad time. This repair will always be visible if you know where it is, but it can sometimes be very hard to find. That’s the idea; if you can look at your garment from a foot away and not immediately find the repair, you’ve done well!
With that out of the way, let’s begin!
You will need the following materials:
-A very small and sharp sewing needle
-Thin thread, ideally the same colour and material as your kimono–or at least get really close
-Very sharp fingernail clippers
-Fabric scissors
First let’s evaluate the hole. We need to make sure that the hole is the result of tearing, insect activity, a snag, someone who sews like a fucking psychopath, or friction wear, and that it is not shattering. You can determine this by kind of giving the fabric around the hole a tug. Shattering will peel away like an angry fabric banana. The other kinds of hole/tear will take some effort to make it worse.
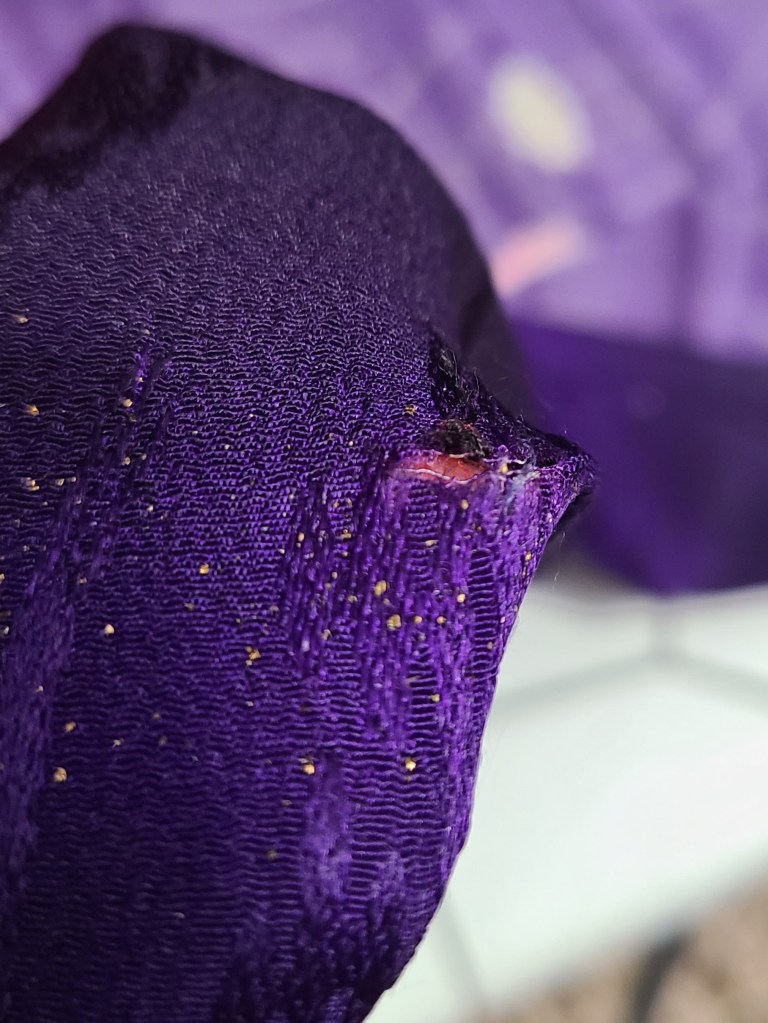

As we can see in this photo, we’ve got ourselves a stress tear. The thread had been wrapped tightly and tied directly to the silk, which over time had caused the fabric to give. But the area around the tear is in good shape with no further fraying and no threat of shattering.
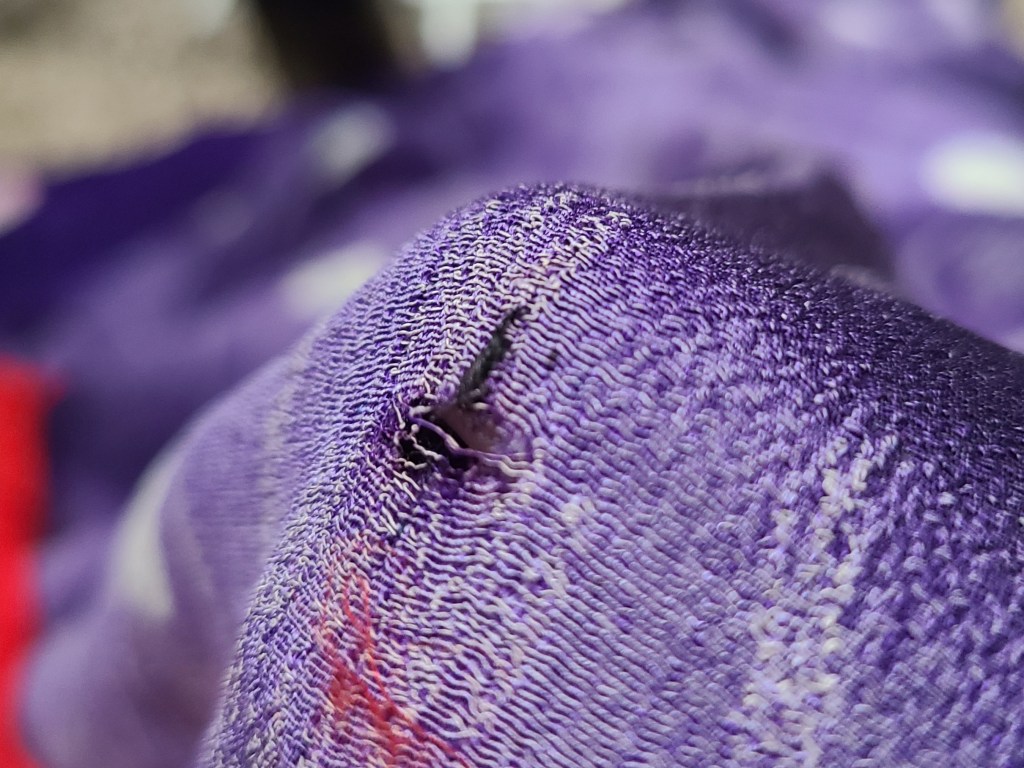
Now let’s clean up the hole as best we can. If there are little threads sticking out of it, for example the hole was once on a seam like above, then remove those threads. But don’t worry about any fraying fibers at this time. Just get a nice clean hole, then let’s put our finger beneath it to have a good look at the extent of the fabric thinning, if there is any.

As we can see in the photo, this hole does not have any further thinning of the fabric. It’s just a stress tear. No problem.
Now we’re fishing for fabric. We’re going to check our seam allowances for a closely matching swatch of fabric that is a little bit bigger than the hole. Mine is a haori, and I found my swatch inside of the garment where the lining is sewn to the shell. Like so:

Notice the jimon (woven pattern) I’ve selected here matches what I’m trying to recover. Also notice that I cut the swatch before I remembered to take the damn picture. Sue me.
Now, back to the hole, let’s play the lineup game. MATCHY MATCHY, MOTHERFUCKERS.

Get as close as you can. Notice that my swatch is significantly larger than my hole. This is on purpose. I want to have a lot of places to support the hole. I recommend that your swatch cover your hole by at least a centimeter on all sides.
When you’ve settled on your placement, we’re going to tack the swatch to the garment behind the hole. I do this using very tiny stitches, one on all sides of the hole. Sometimes I’ll use pins to hold my swatch in place, but in this case I actually just held it all together in my hand. Sometimes that’s easier to do than others, but if you struggle to hold the swatch onto your fabric, just pin it down.
When it’s pinned, the back should look something like this:
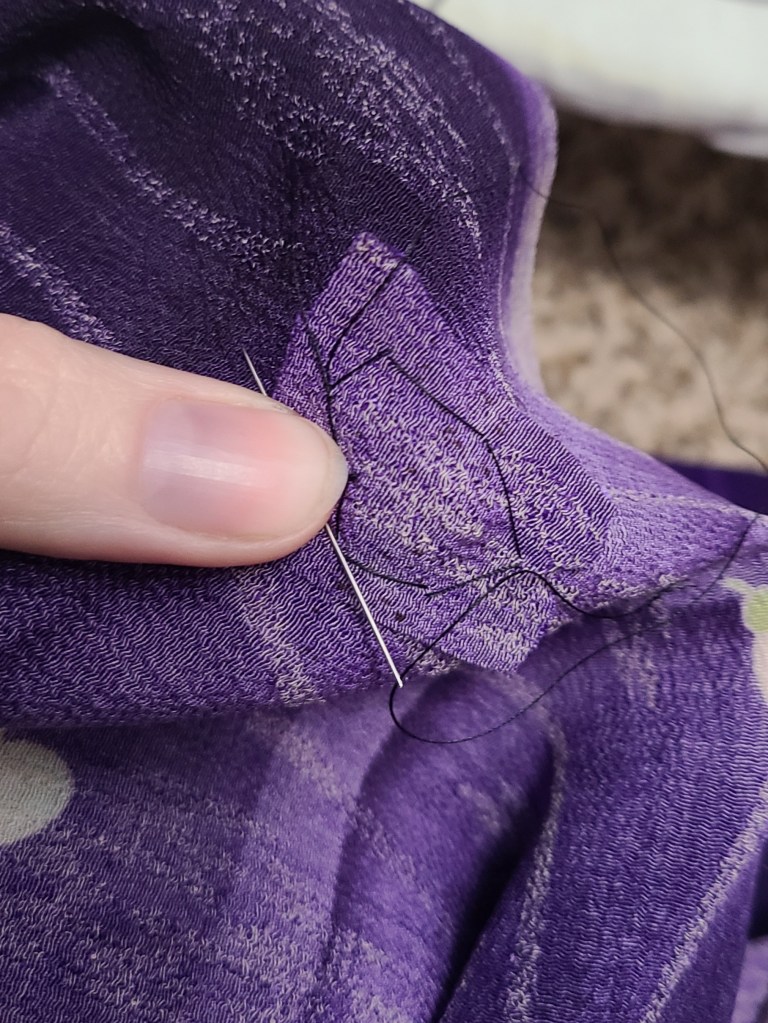
Now, remember that the stitches you’re making are very small. This is a beautiful chirimen/crepe silk, so it was easy to hide the threads in between the woven fibers of the fabric. Not every garment is going to be that forgiving, so you want to make as tiny stitches as possible. Here’s how I do that:
-Punch the needle through and pull the thread all the way through. Parallel to the grain of the fabric and only a needle’s head width away from the hole you just came out of, punch your needle right back through. Pull tight. Then hop around to another spot. We’re making very deliberate stitches right now because we need to be precise.

Find the stitches. I dare you!


Here I am making my way around the hole. After you have tacked the swatch firmly, you’re now going to be pinning your fabric down to the swatch as closely to the hole as you can get without being obvious, and as tightly as you can without making your fabric pucker. Be patient and work slowly. If you’re an impatient jackass like I was the first time, you could make the hole worse or otherwise have to do it again because you have to pull stitches because of puckering. Just take it easy, and work one stitch at a time.
When you feel like your hole is now well tacked down to the swatch, let’s deal with the errant fibers that are just staring at you and making your life hell:

We’re literally going to hack those off with the fingernail clippers. I choose fingernail clippers because they can get super close, but use a tool that you’re comfortable with. We’re looking to blend the fabric with the damage to the fabric of the swatch beneath it. Do not sacrifice good in pursuit of perfect: there’s a goddamn hole in your kimono. There is no perfect. This is triage.
This will be the ONE TIME that it’s okay to tie your thread off onto the fabric, because we want this to be permanent. Just make a very simple knot, and don’t go insane.
When you’ve removed the shitty looking fibers sticking up, you’ll have a cleaner looking repair. Behold:

Yes, you can still see it. But it took a second, didn’t it? And it’s not so glaring. It’s also structurally sound, so if you need to sew over it, you can.
Flippy flippy!
You can now patch a hole reliably in a kimono. Go forth and conquer, my friends.

“The clone stamp tool on hard brush” and once again I spit coffee…I really have to stop reading these during breakfast.
LikeLike