I started this journey looking for a haribako–a sewing box. You see, right now I’m using a tackle box, and it’s fine I guess, but as my collection of silk threads, couching threads, needles, and other such repair items for my antique kimono repairs gets larger and larger, it’s starting to be a massive pain in the ass. It’s time to get a for-realsies sewing box. I thought that since I’m specializing in repairing and restoring kimono, I should choose a proper Japanese haribako.
I also decided that I wanted to find a haribako that needed to be repaired. I don’t know if I have a good reason for that. Feels right, I guess? I get a great deal of personal satisfaction out of carefully piecing things back together, and giving them a good clean. And so I was on a mission.
What I ended up with is actually a kyodai. I didn’t realize it until it came to me, and the seller absolutely did not lie to me or anything. I think this is an easy mistake to make, so no harm done. I’m still super excited to have it! I’ve been talking back and forth with the original owner, and they’ll be reading along as well. I hope I do everyone proud!
Warn your parents. I curse a lot.
So let’s begin!
You might be thinking: What in the blue fuck is a kyodai?
It’s a vanity! You are now informed. You’re welcome.
First, I want to point out that even though we both had it wrong at first, thinking that this was a haribako, the seller was excellent in listing the condition. I knew exactly what I was getting myself into. Let’s have a look.


Here is everything fresh out of the box. I need you to know that I was squealing like a preschooler on PCP while I was unboxing this. It is imperative that you understand exactly how ridiculously excited I was to receive it. Also, it was very well packaged, even though it wasn’t traveling very far to get to me.
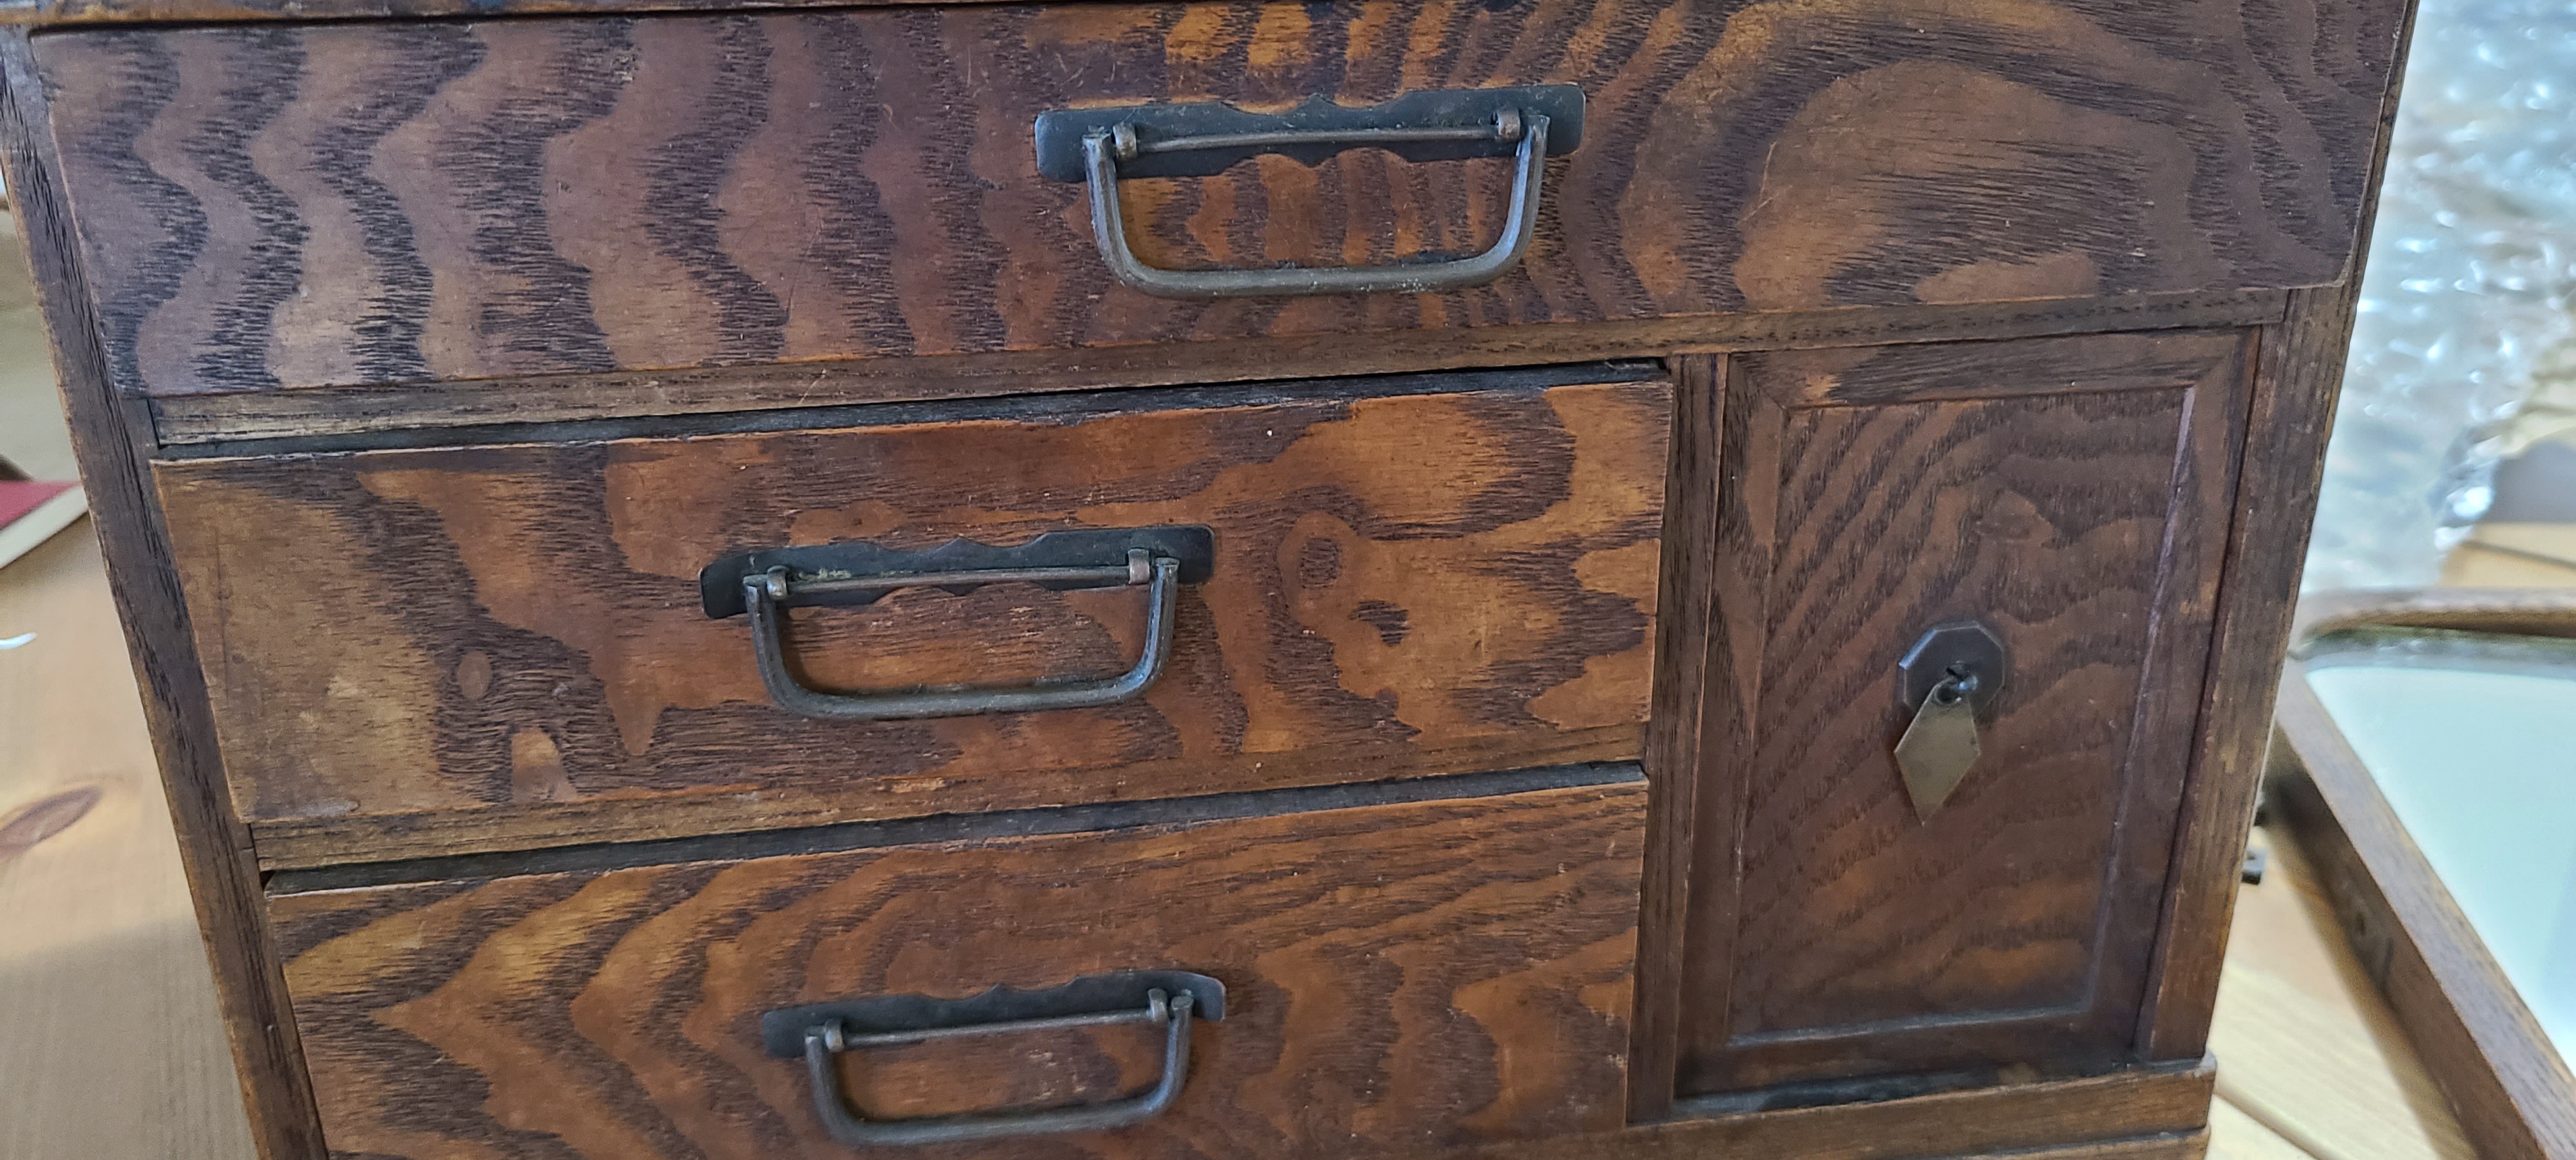
Can we take a second to talk about the wood grain on this thing? It’s fucking stunning. Most of the box appears to be made of cedar, but the front panels of the drawers are made of mulberry. It was pointed out to me by someone who knows better (I don’t name drop without permission–if you’re reading this and want your name and a link to your site, I will be happy to edit it in!) That sometimes artisans would cover these in a very fine veneer of the mulberry. I was very cautious in my first cleaning to look for seams. This is when I concluded that rather than veneer, the front panels are solid, but a different material than the drawers. Party hard.
Now let’s go over the damage. She’s an old girl, and needs some work. That’s why I bought her, after all.
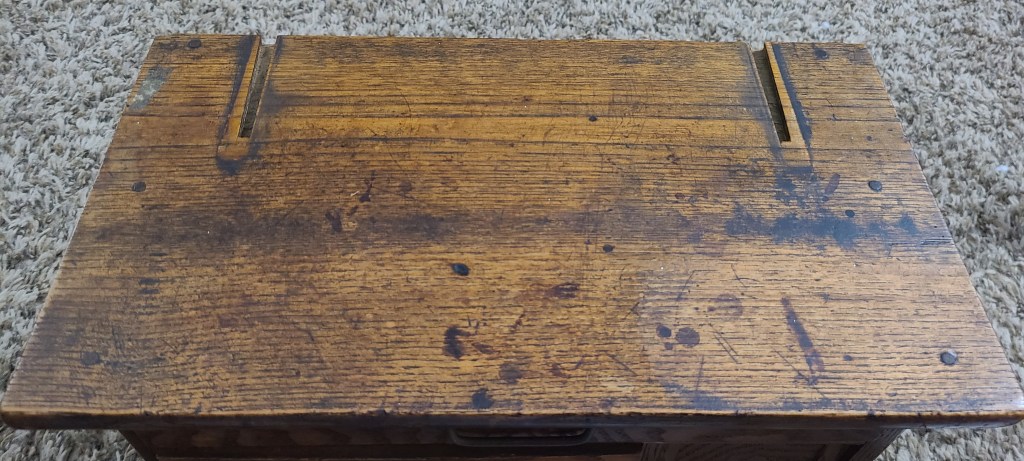
The top surface of the box itself has some significant wear and buildup of…well, just dirt and shit in the varnish from age, I think. There are some pretty goddamn harsh scratches here and there on the edges of the surface. There are also a few significant burns, although from what, I can’t say.

See this burn? This one is going to be the one that’s gonna fuck with me. I can feel it.
Narrator: It was.

I was pretty happy to learn that this was just some residual adhesive. Tape, a sticker. Something normal like that. The bit right above it in the picture, though, seemed to be a pretty harsh abrasion. I made several faces at it that you’re just going to have to use your imagination for. Think about sucking on a lemon and then stubbing your toe on a mahogany coffee table that’s on fire. That’s pretty close, I think.
A normal gentle cleansing wasn’t getting me very far with most of this. Knowing that my worst case scenario was stripping and sanding everything, I said “fuck it” and whipped out the acetone. This revealed to me that most of those little scratches were superficial. The acetone took care of a lot of the gunked-up varnish and whatever else. But it wasn’t doing anything about those burns, and those other abrasions were exactly as bad as I had feared. It also brought some minor chipping on the edges to my attention.
WELP. There was no way in hell I was going to be able to properly restore this without stripping and sanding.

I had feelings about that. But only briefly.
Let me be VERY clear, since the original owners are very possibly reading along: I was flipping off the abraisions, because ughhhhh. There is not one tiny ounce of annoyance, disappointment, or anger, or anything like that in me for this box’s history or how it was cared for. This is the nature of restorations. I just get…colorful. You should hear the things I say when I’m restoring kinsai. Pirates blush.
So I did the needful. I skipped stripping because of the mulberry, and just used different grades of sandpaper. This was because of the presence of chipping as well. The top needed to be resurfaced. As well as the arms that hold the mirrors. It went pretty well!

The natural wood grain here is still very pretty. You can see two of the minor burns just a bit, and then the major one is still present.

As a rule, I will never potentially compromise structural integrity to chase “perfect.”That little burn pit is potentially deeper than the nail heads are thick. So I cleaned up what I could. I’m going to get in there and scrape away as much burned material as I can. Then I will fill it in and level it off. I’m good at that, so I’m confident that I can make a seamless repair.
Now on to the cute little bracket that holds the mirror arms together. It has a beautiful burned pattern of bamboo in it, and a sightly less beautiful crack.

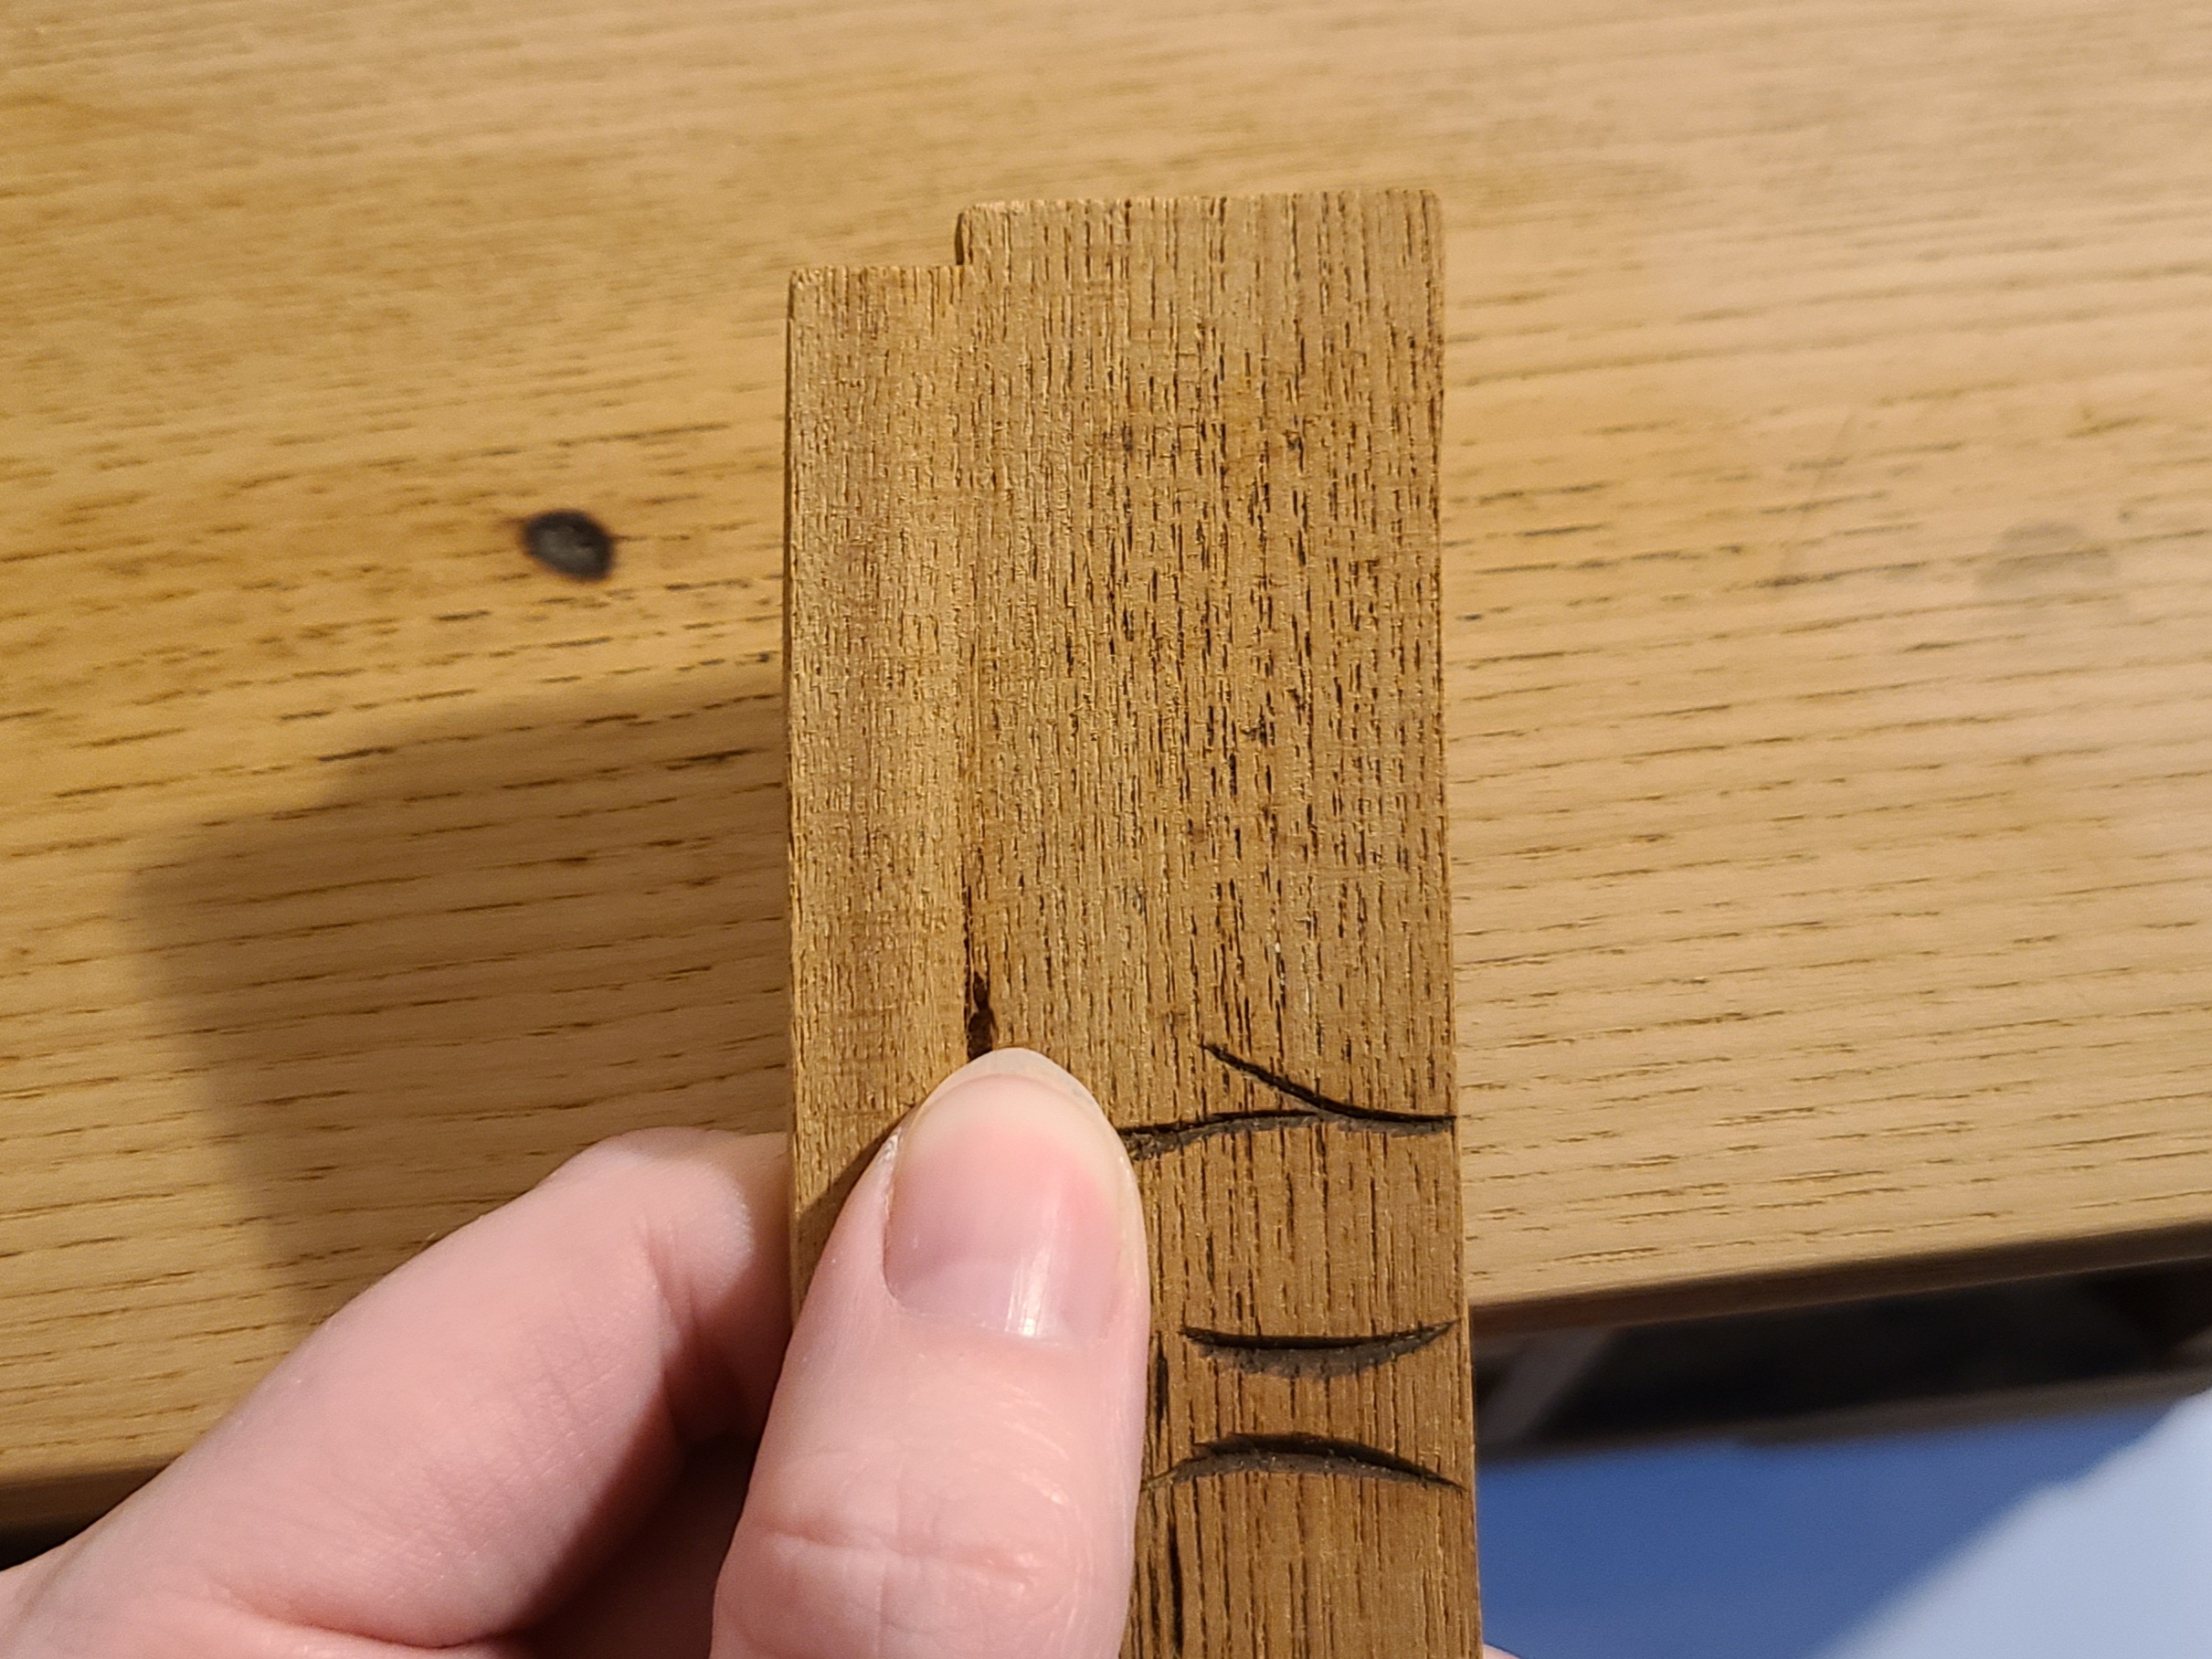
The crack is actually almost seamless, with just one spot of pitting. I’ll just be gluing it back together again and straightening it with clamps. No problem.
The mirror arms came out fine. Nothing particularly interesting as far as damage goes here–HOLD UP.
… … …
You seeing this shit?

-Shifty eyes-

I am a giant child, and I am not sorry.
Anyway.
The drawers were dirty. That’s really the only problem with them. The hardware was all in excellent shape, too. I used a fat rusty flathead screwdriver like a goddamn wedge and carefully removed the hardware from each drawer. Even though the faces of each drawer were in relatively good shape, I need my end results to match. So they were sanded, too. I did so very gently and it took fucking forever, but there was no way in hell I was willing to even kind of risk damaging the grain on these.

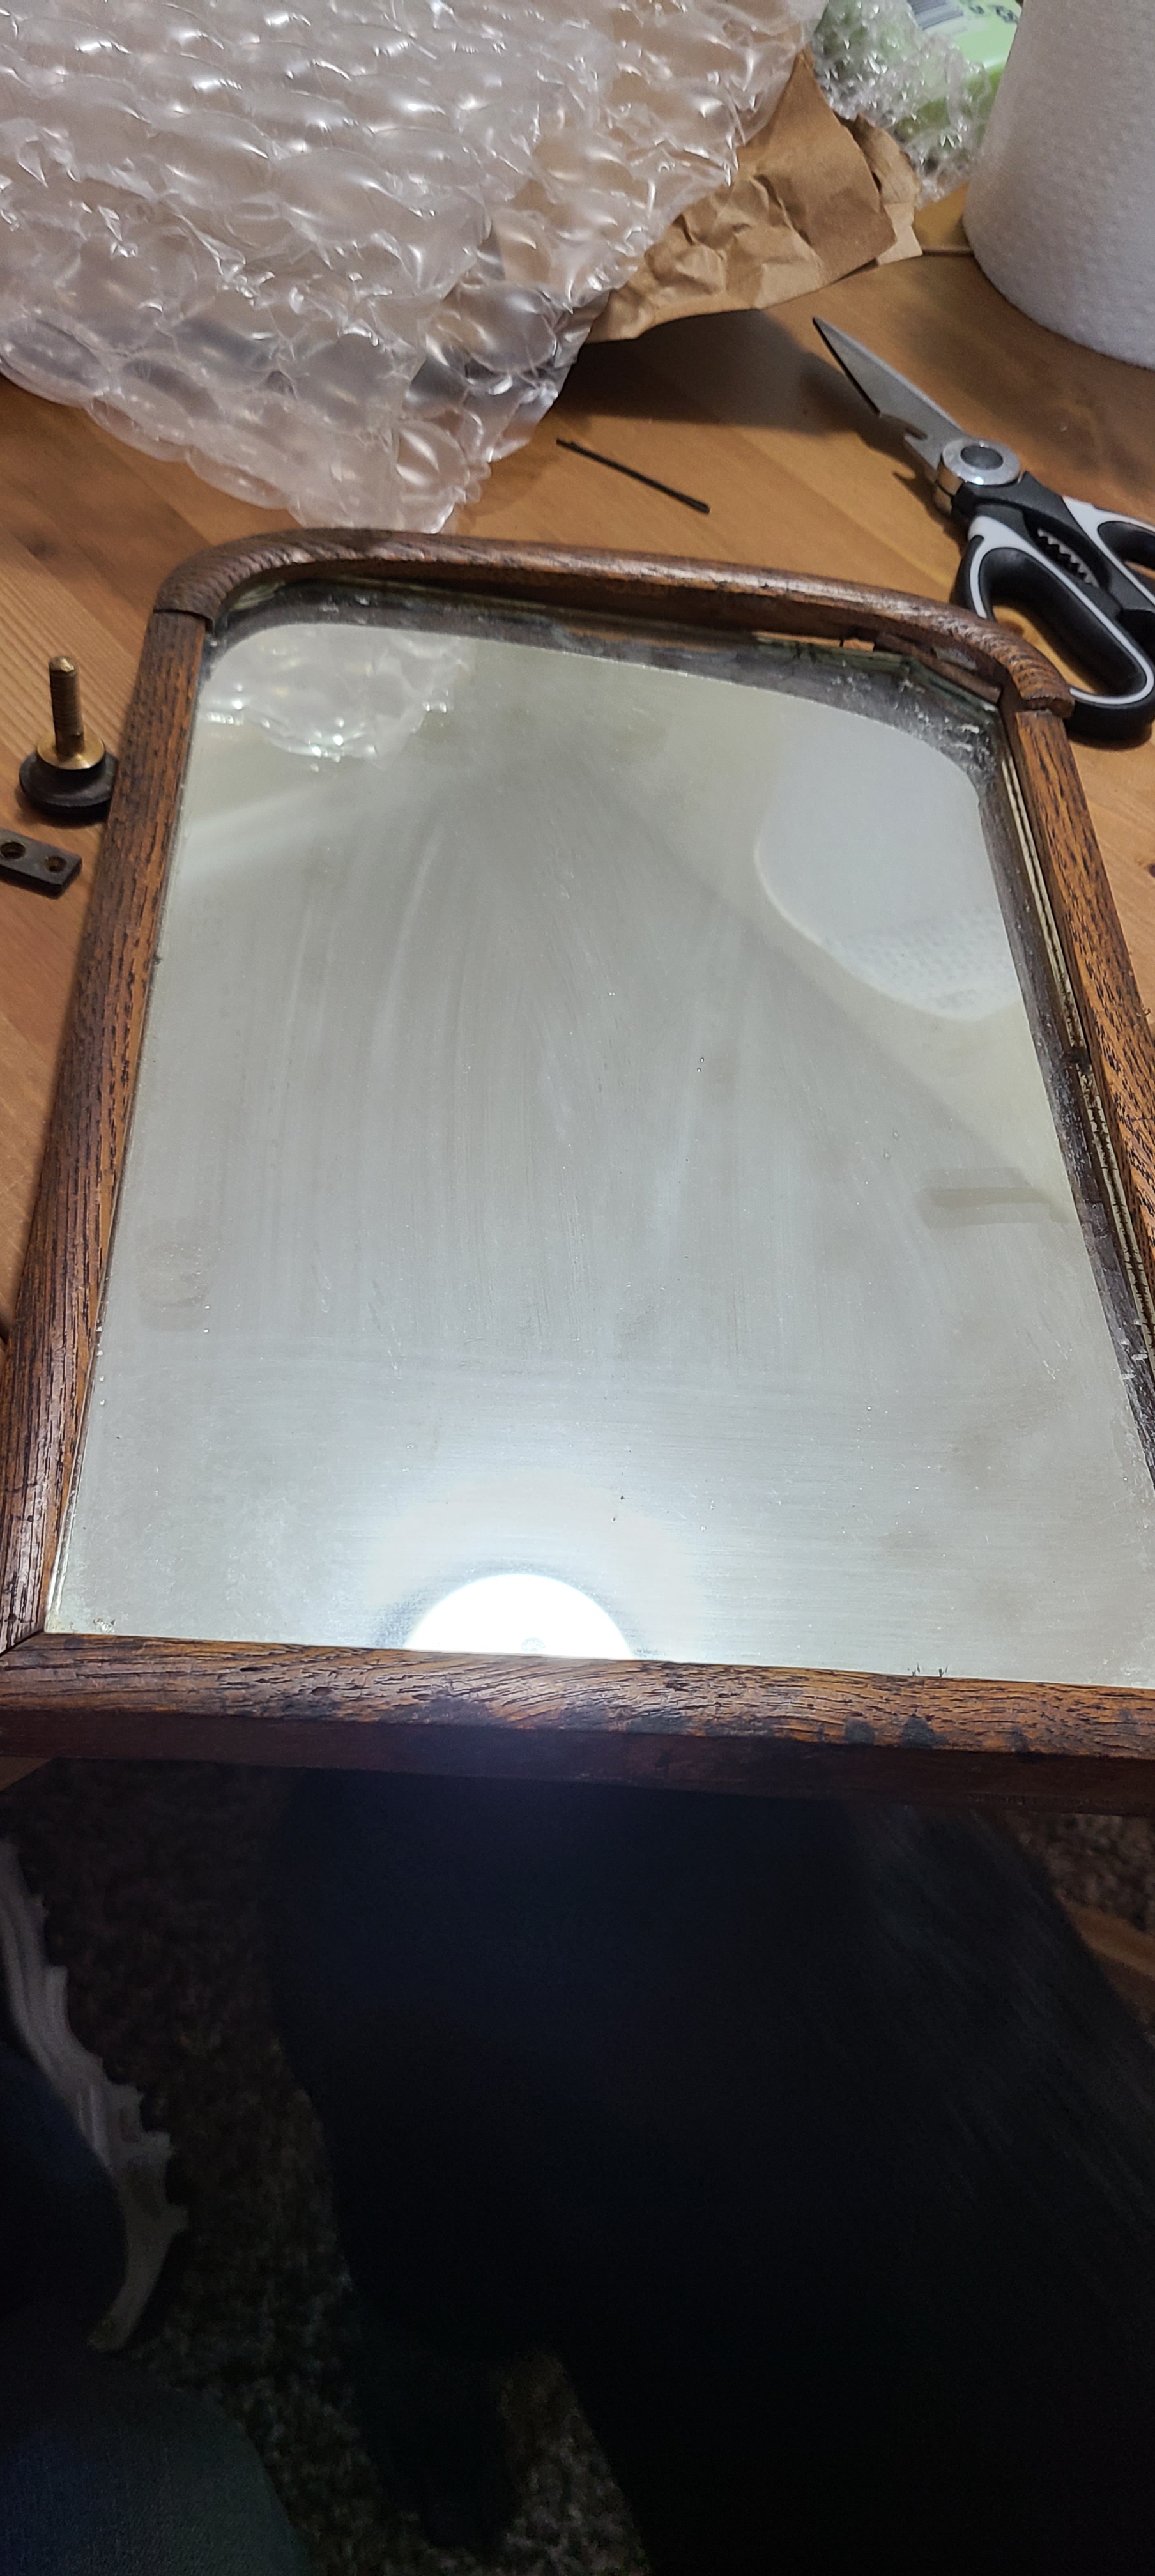
The body of the kyodai is now sanded and cleaned. Let’s have a look at that mirror frame and mirror. This is where my biggest challenge is going to be. Bring it. -Shotgun chk-chk-

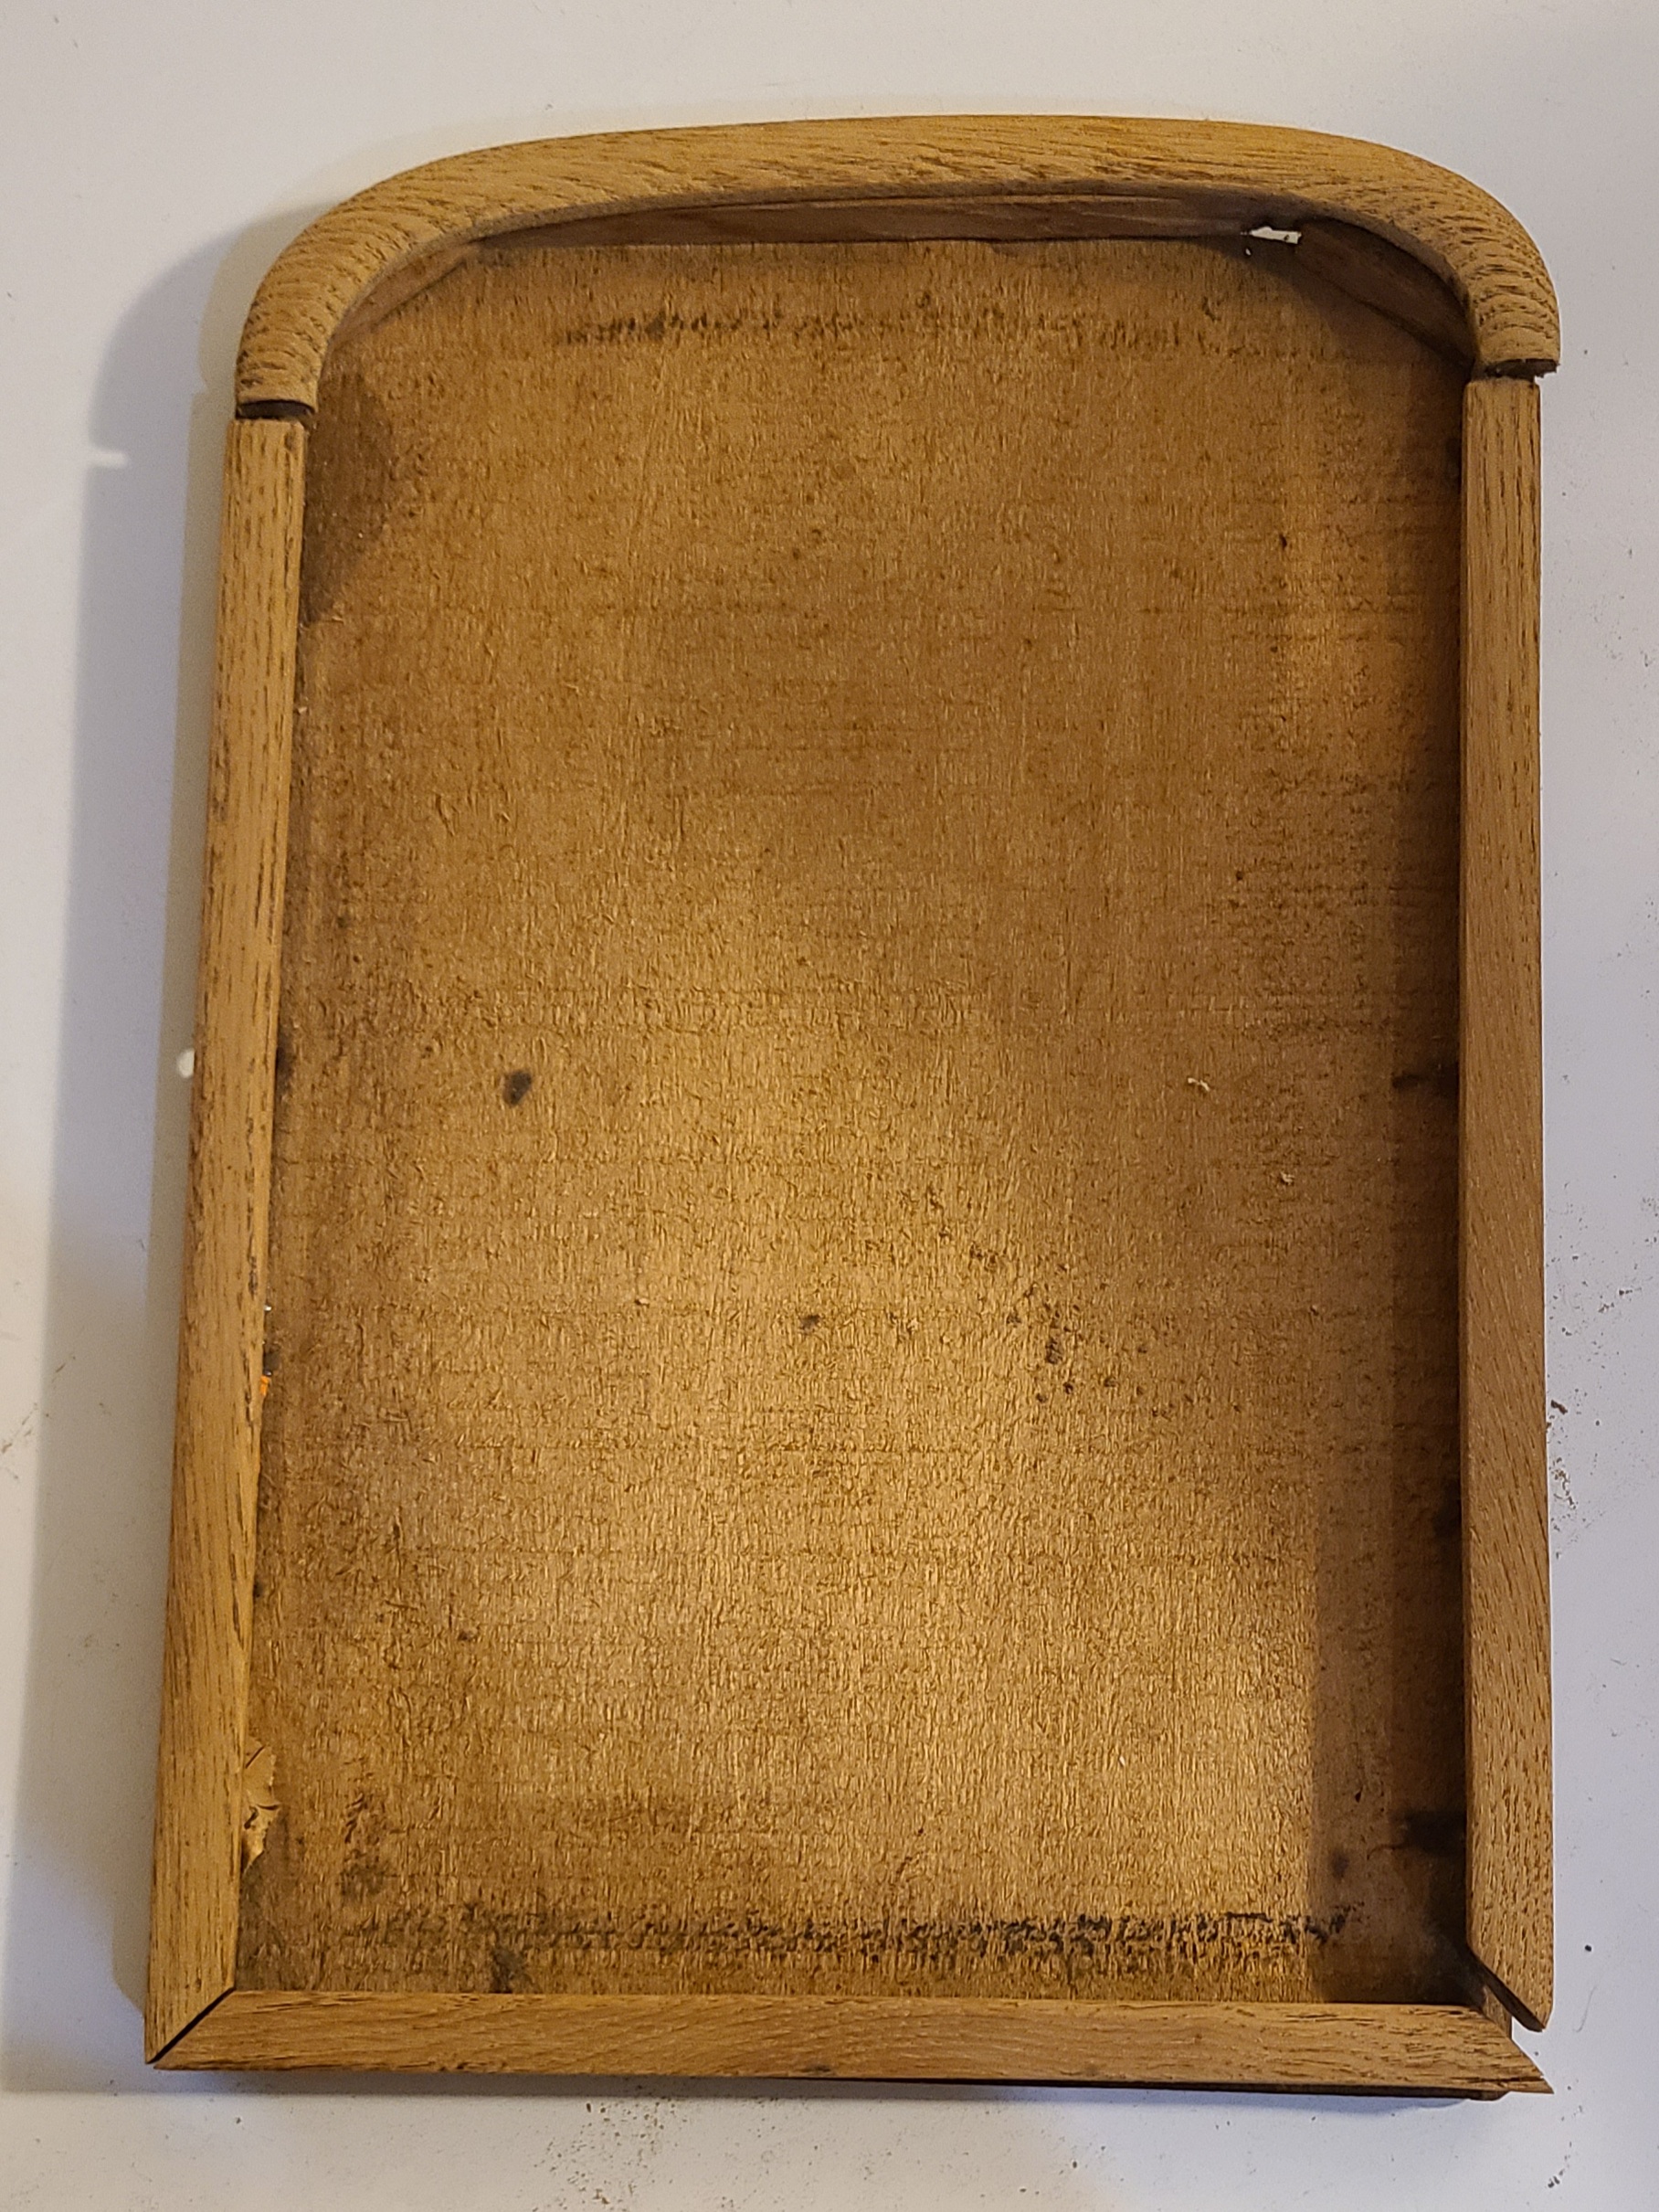
The mirror frame has a few chips, but for the most part, everything is here. I will have to fill a few gaps, nothing crazy. Other than that, it actually almost fits together like a puzzle. Getting the mirror out was…an adventure…
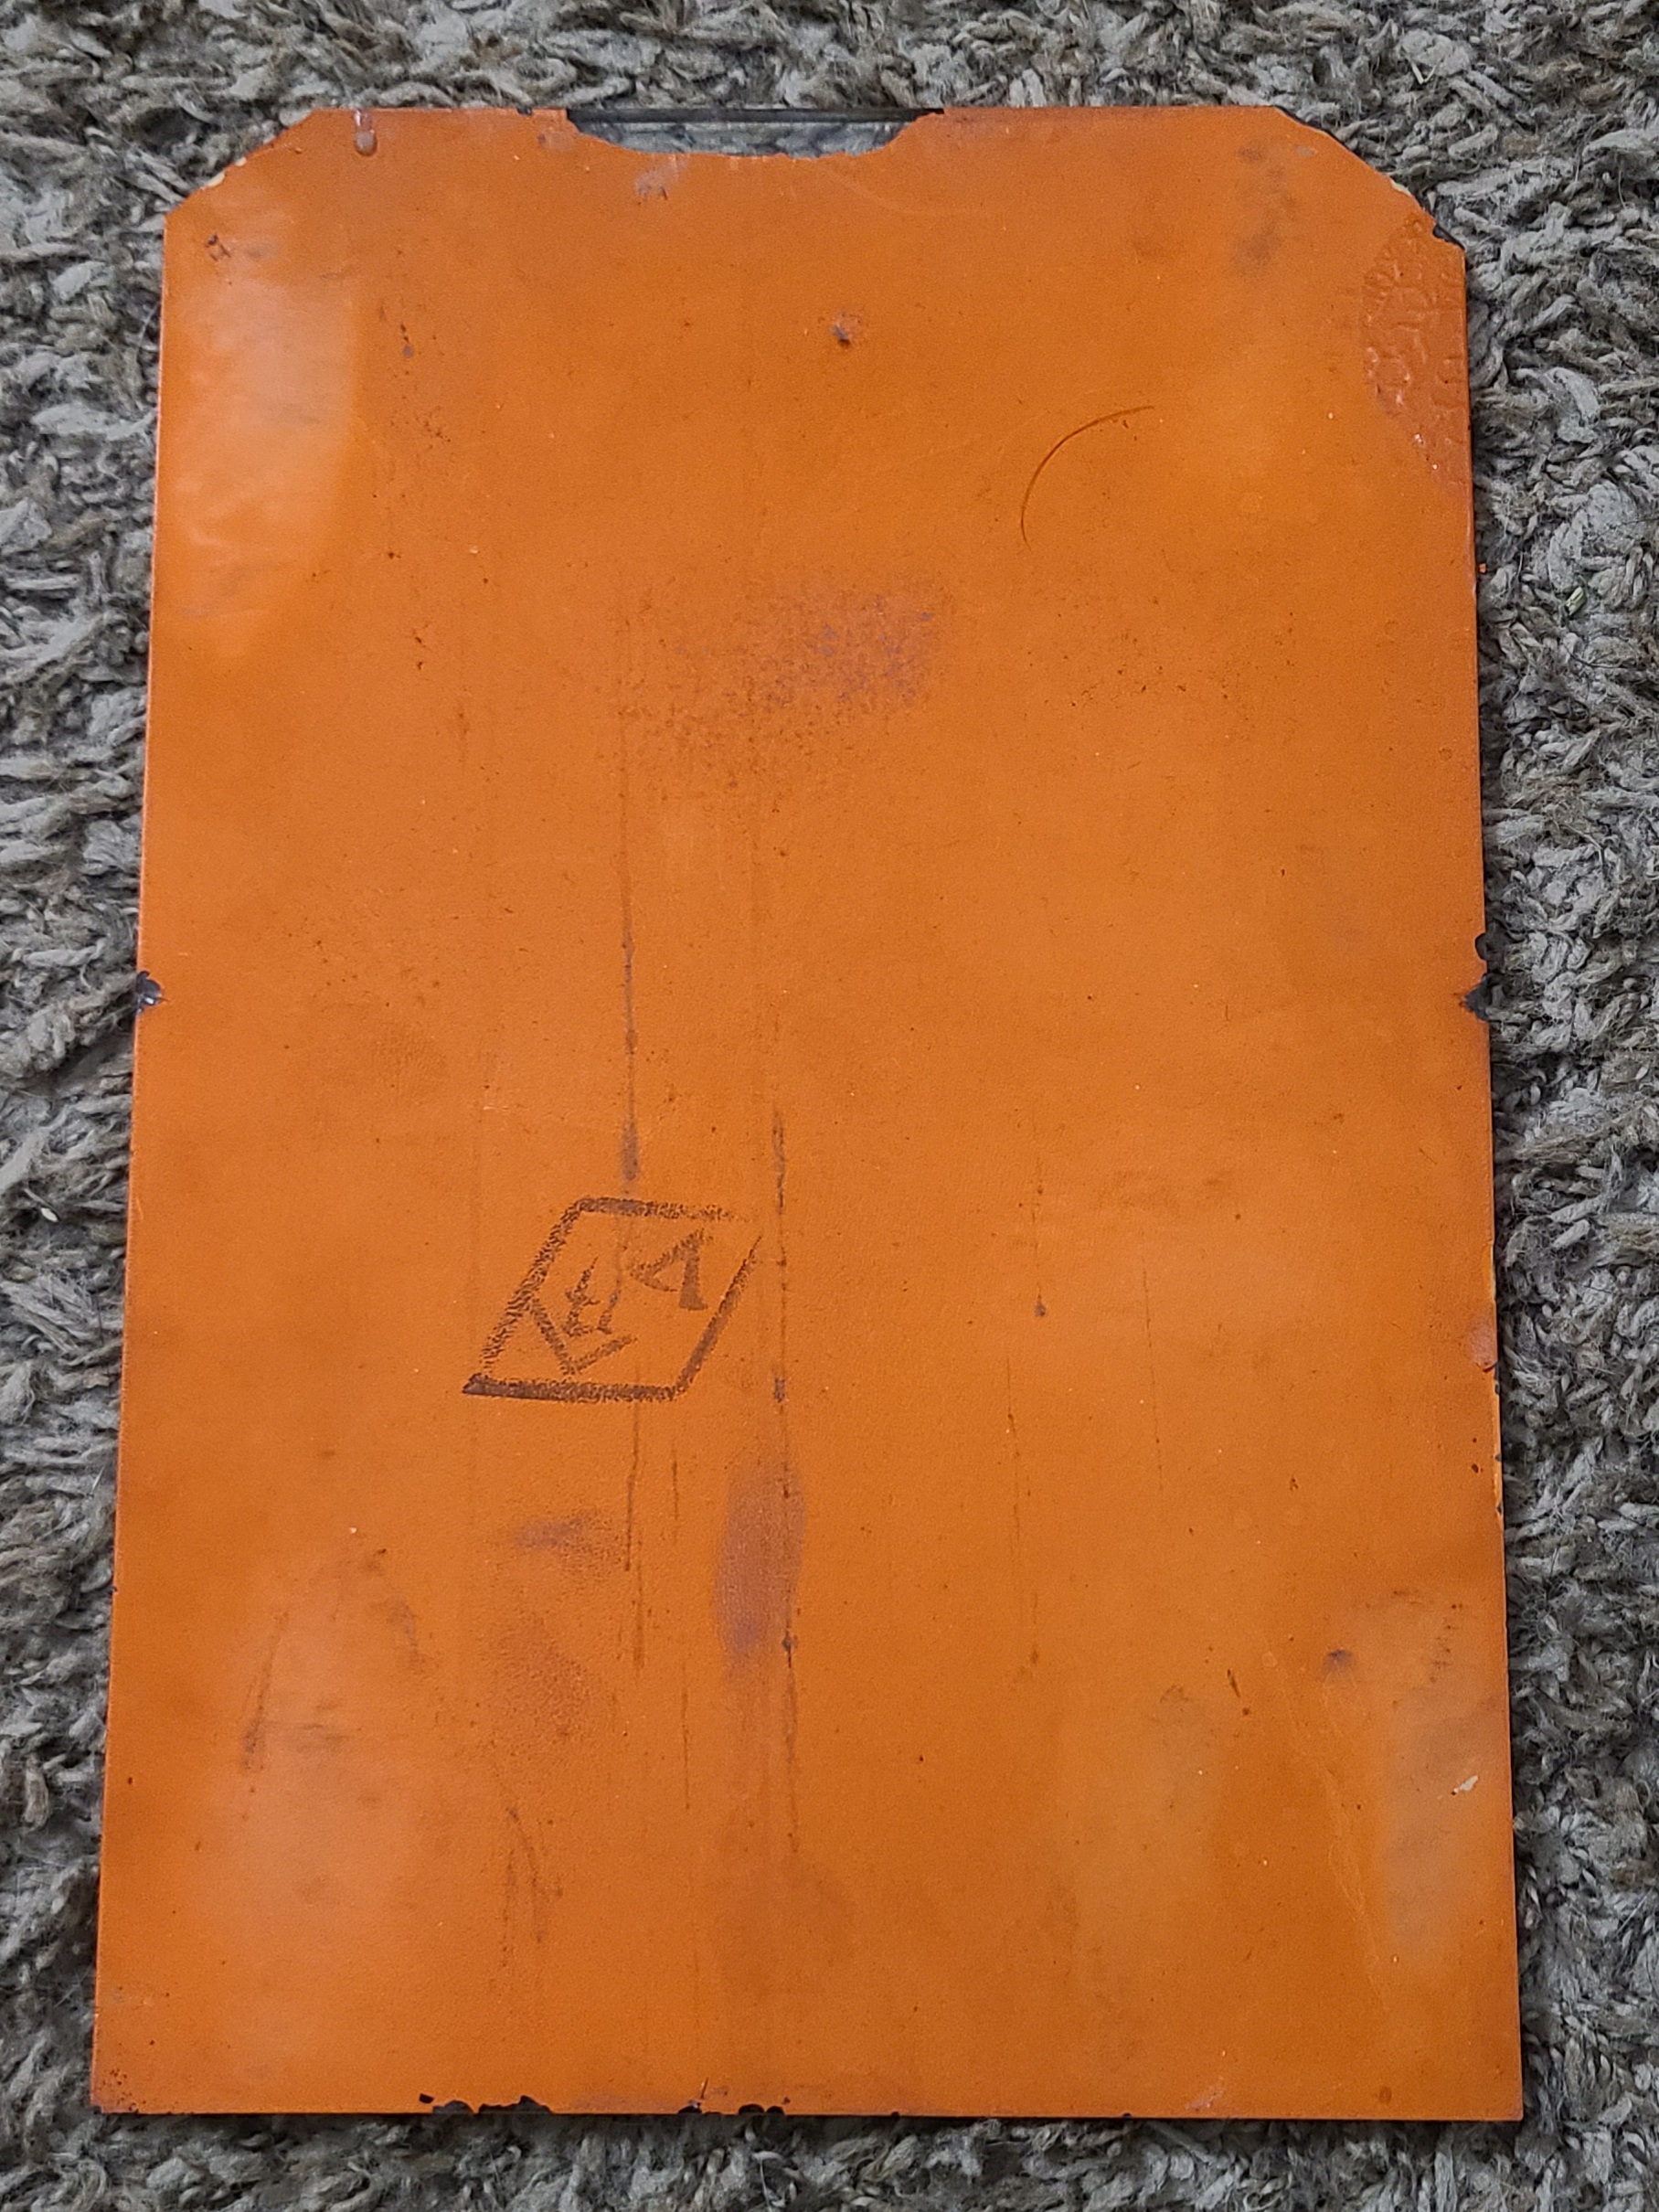
But hey! Check out what was behind the mirror!

There were a few of these. I think they’re newspapers. Weird.
Now about this mirror. Whooo boy.


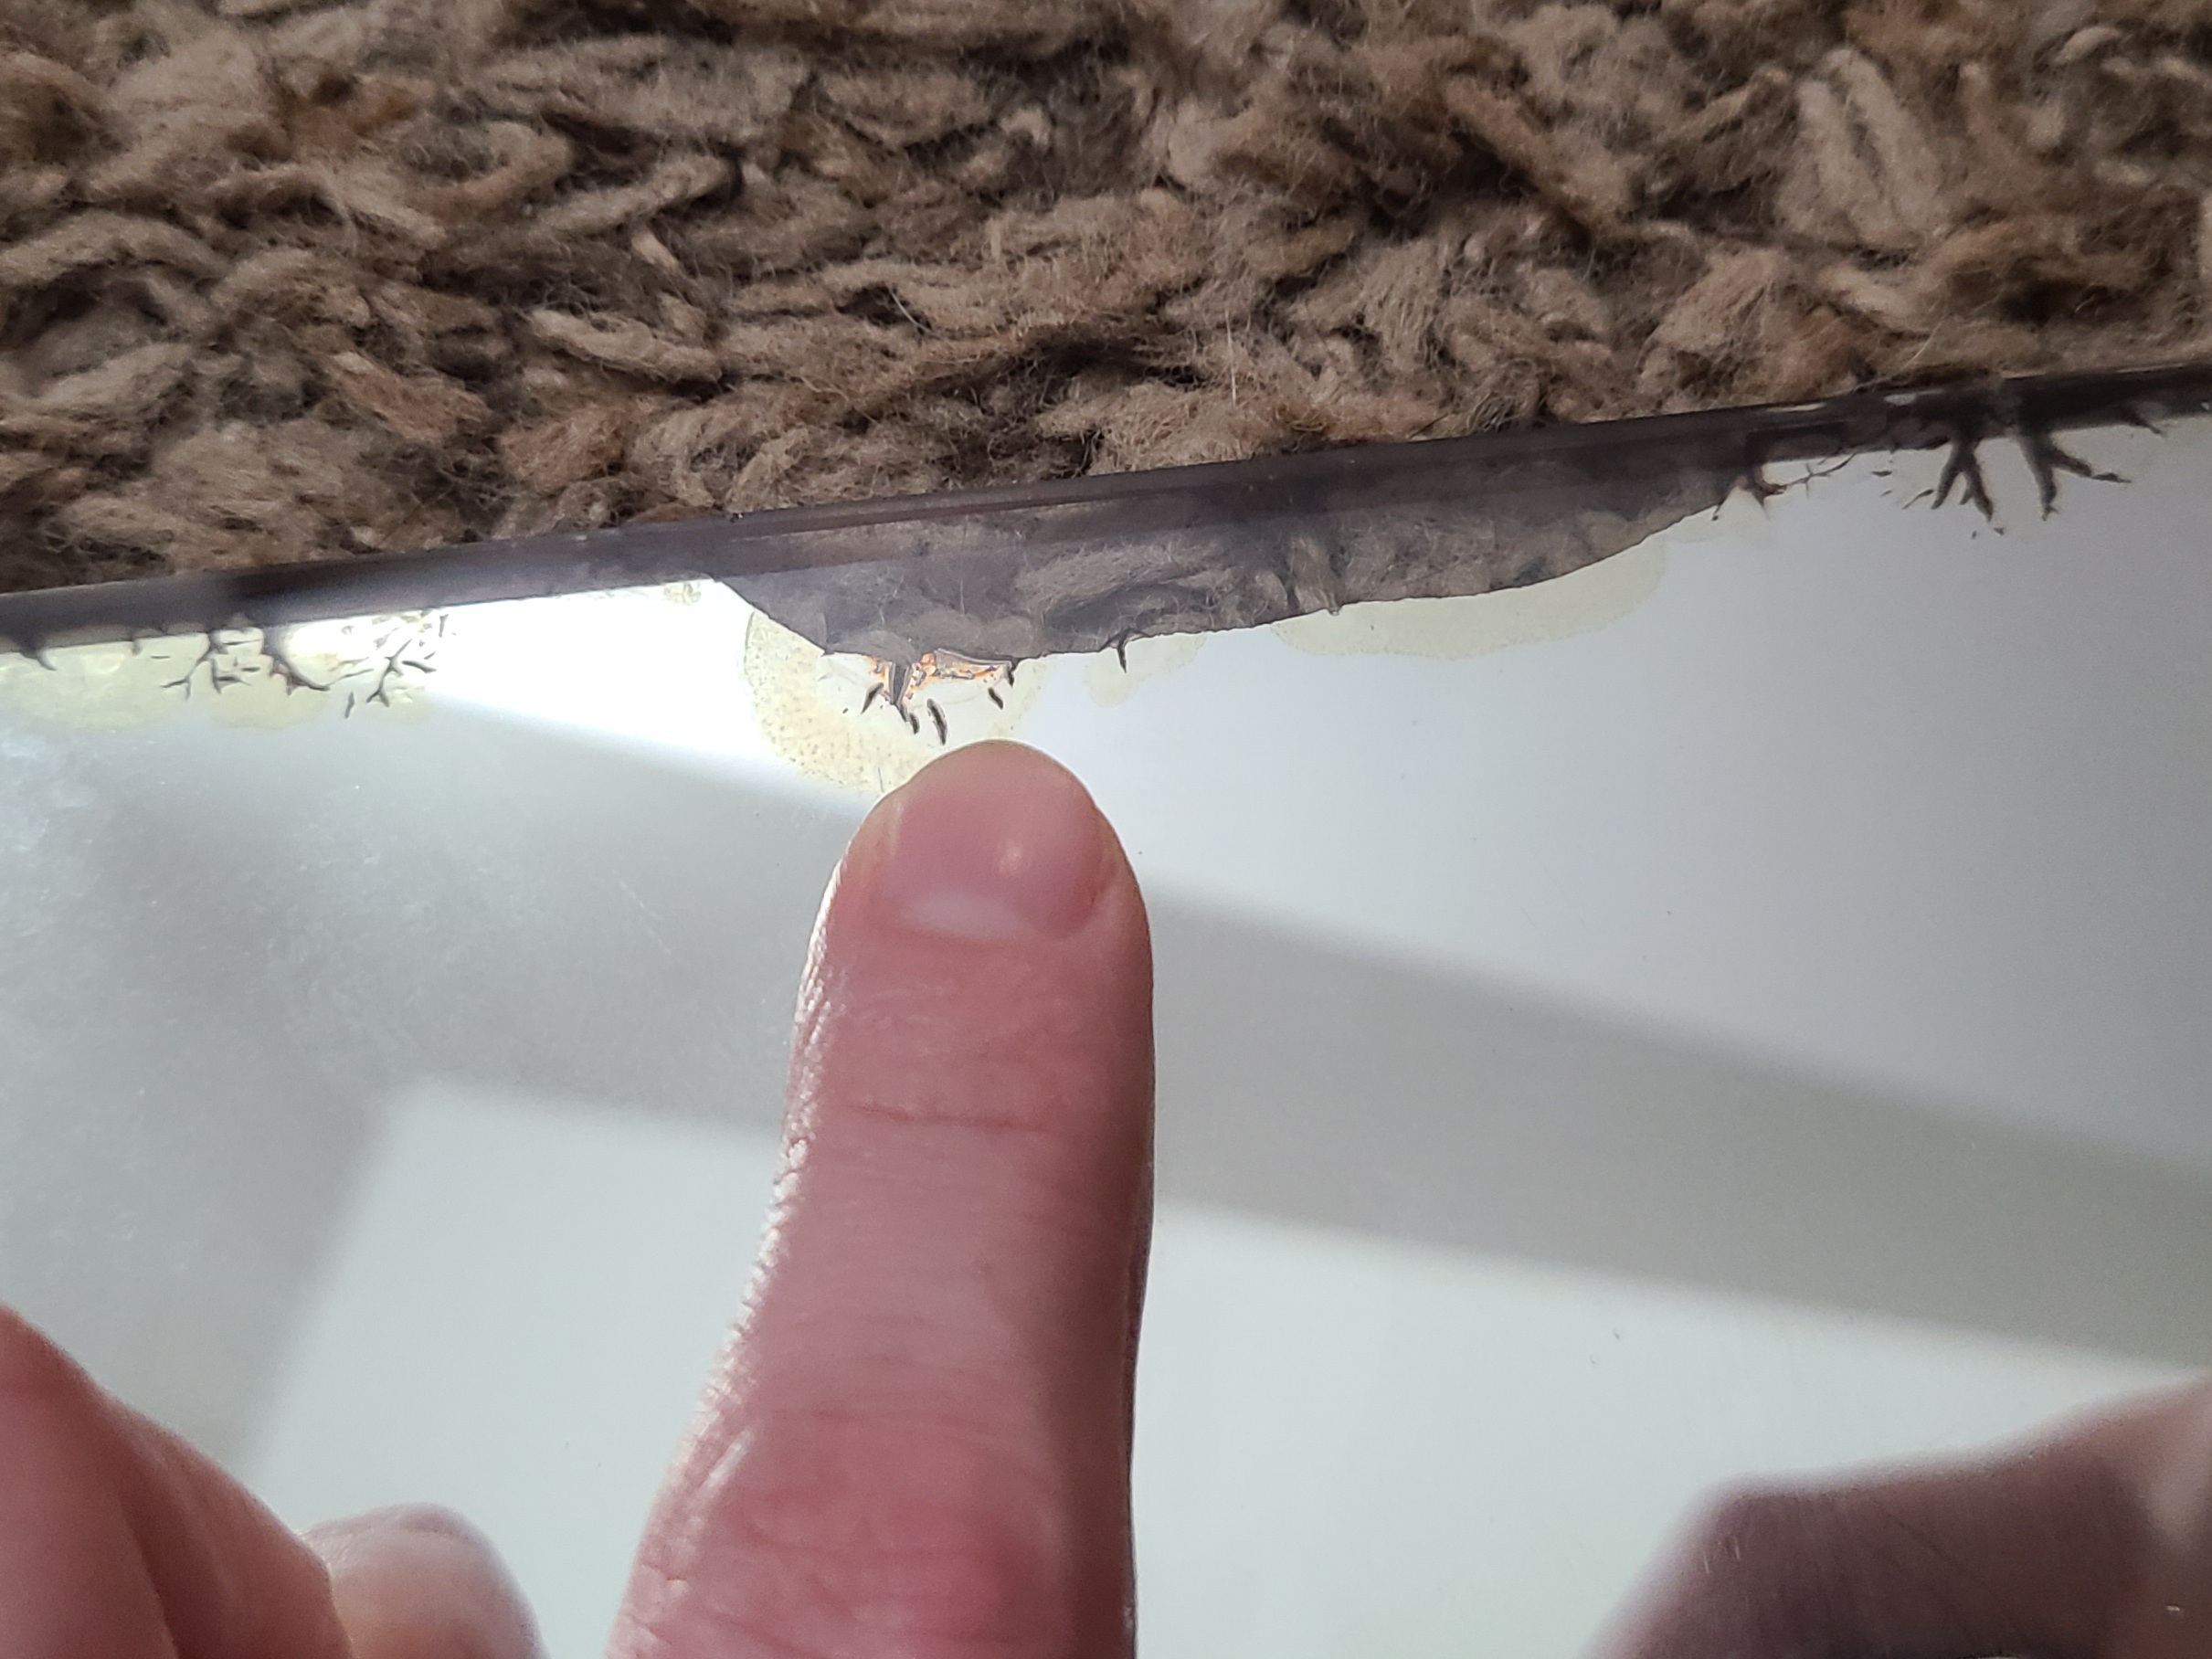
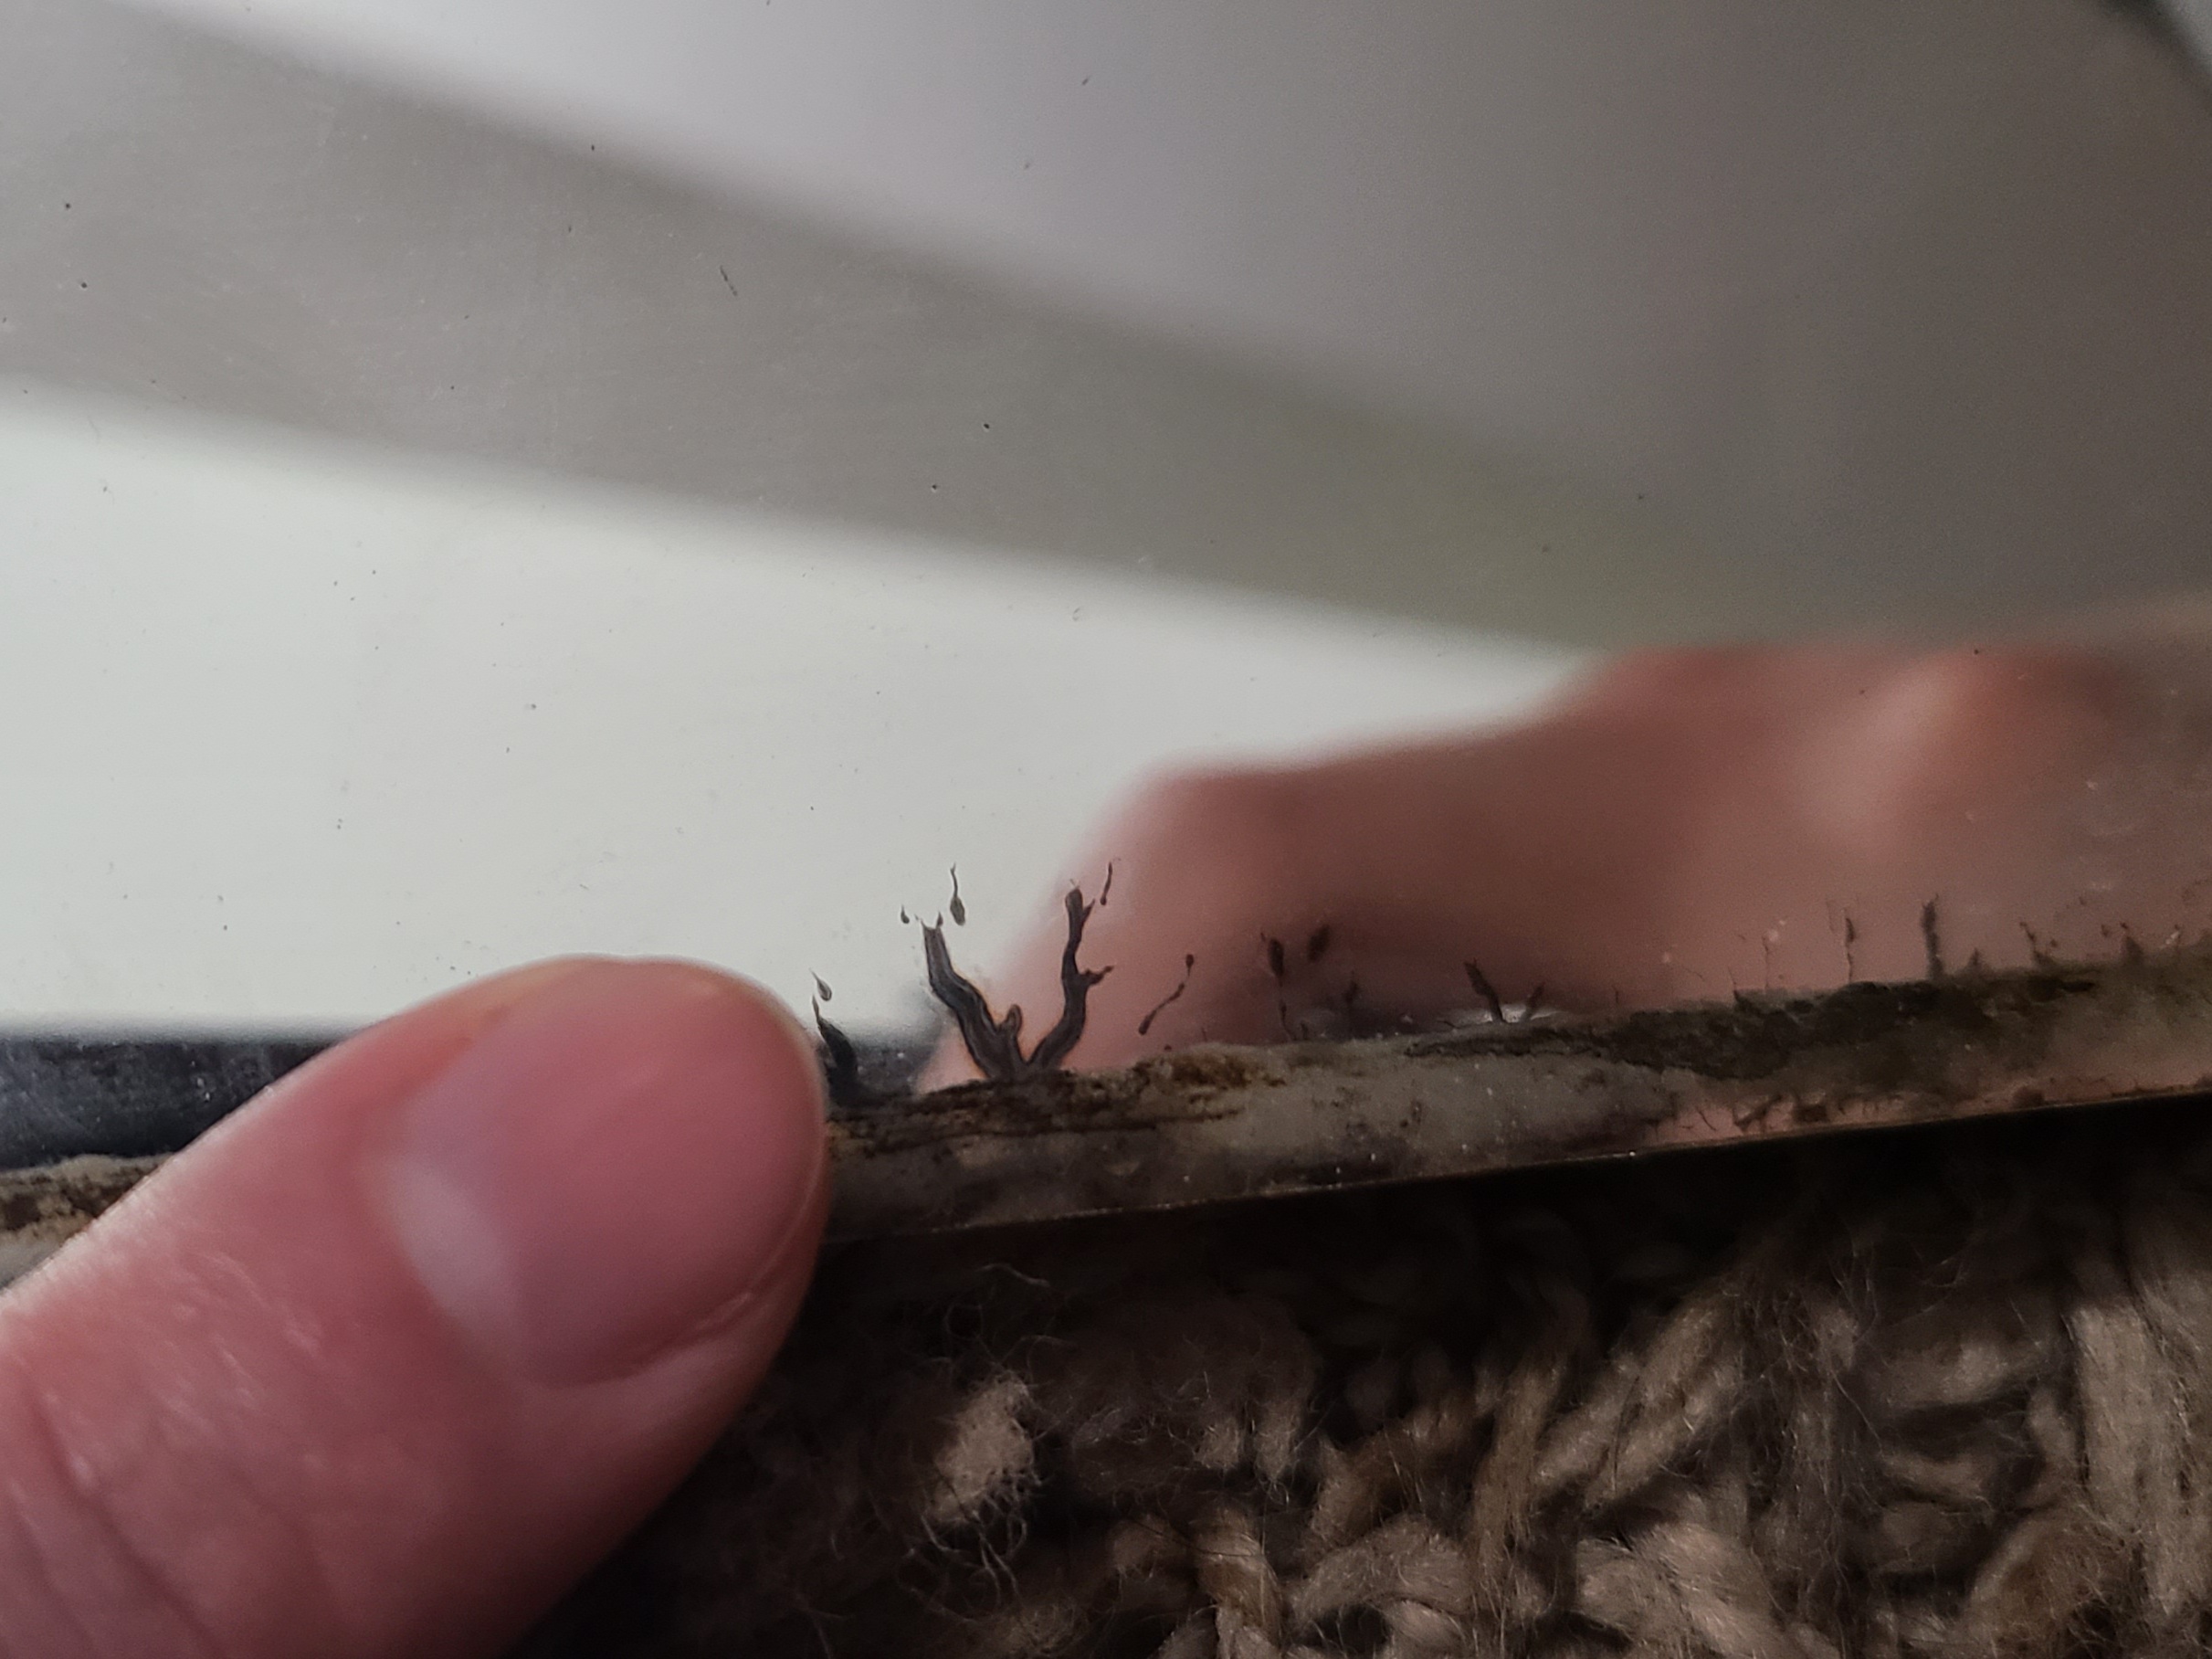

The mirror isn’t actually broken anywhere, although the cuts to the glass where it was originally fitted to the curvature of the frame is a bit primitive looking. What we do have here is some corrosion on the silvering. So guess who the fuck is about to learn how to spot resilver a mirror!
Did you guess?
That’s right! Santa!
Wait. No. It’s me. I will.
I’ve been walked through the process by someone who knows better, and I’m actually feeling pretty confident. I am going to do everything in my power to preserve what is here because, quite simply, they just don’t make them like this anymore.
My next steps will be to start staining. I guess I get to pick whatever color I want, but I think I’m going to get as close to the original color as I can. There was a deep honey amber sweetness to the original color that is hard to put into words beyond that here. So now I’m just going to agonize over that for a few days, and we’ll see what’s up. I don’t think I’m going to attempt to reconstruct the mirror frame until the mirror is repaired and reseated. Seamlessness is my goal, so doing it in pieces feels needlessly complicated.
I’ll update this later when I’ve done more work to it. In the meantime, here is video evidence that I’m a mature, responsible adult:
BYE.

2 thoughts on “Restoration In Progress–Taisho Era Kyodai”