Vinegar Edition.
If you’re reading this, you might have come here from the Global Kimono Facebook group, at which point: Hi! If not, I have been posting little pictures and updates here and there about my stain removal process. Just last night (Hahaha, who are we kidding, it was 5 in the morning for me, what even is time?), I posted a before and after of my stain removal progress on this furisode. The response was pretty positive!


So! Today I’ll post a how-to guide on spot treating stains on silk using distilled white vinegar. This post will only cover the vinegar method.
Big ol’ fat disclaimer: I don’t do this for profit, I’m not a museum, and you’re trying this at your own risk. I can’t take responsibility for items I can’t evaluate, and I won’t. With that out of the way, LET’S DO THIS.

My tools above are as follows from top to bottom: a shot glass of 70% distilled white vinegar and water solution (Edit for clarity, the shot glass is full of 70% vinegar and 30% water–I didn’t buy 70% vinegar), a jar of distilled water, a flat soft paintbrush, an angled soft paintbrush, a weird toothbrush I got from the dentist, an Exacto knife, cotton buds, and they’re all sitting on a clean white cotton cloth. Also there’s some paper towels there.
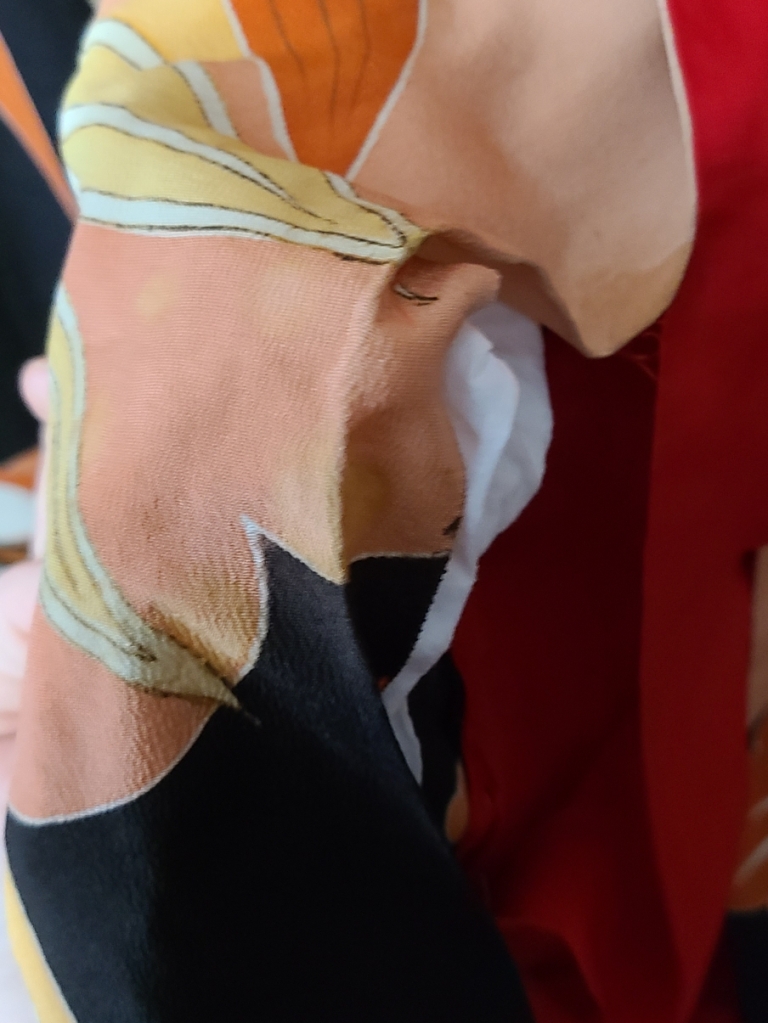
To begin, we select a stained area. I’ll start here:

It’s helpful if you can identify what the stain is to begin with. Oftentimes, you can better decide what will take it out of you know what it is. Before the pandemic, I was known to touch stains with my tongue because I’m arguably insane. I’ve identified a lot of sauces and…other fluids. But this isn’t the year to fuck around with that, so I actually skipped that step on this piece. I also can’t, in good conscience, recommend anyone else do that EVER.
I think that most of these stains are a result of the kinsai (gold paint) deteriorating, and the sizing (adhesive) leftovers attracting gunk. They’re not sticky, they don’t scratch off. But boy do they hug those deteriorated kinsai lines. That said. It’s time to begin. We start by popping the seam closest to the stained area, and placing the cotton cloth between the shell and the lining.

This has two functions. The first is to prevent any dye from bleeding anywhere it doesn’t belong. The second is to absorb the fluids and stain as it releases.
Now, this is INCREDIBLY important. Before you do SHIT. ELSE. You need to test to make sure that the dye won’t come up with the stain. I do this on the seam allowance, which luckily for me, was also quite stained!
I didn’t take a picture because I’m just terrible, but in my case, the vinegar is not a danger to the dye, and we’re good to go!
We start by dipping one of the soft paintbrushes into the vinegar solution and saturating the stain. I move the brush back and forth, and in circles in a soft scrubbing motion while I do this. I will typically work on as many stains as I can in an area that I have with the cotton beneath it, but sometimes I focus on just one if it’s a particularly bad stain.

You’ll notice that some stains will only lighten when they’ve been soaking for a but, and some just fuck right off immediately. You will probably also run into stains that this doesn’t move at all, at which point I’ll have other tutorials on specific removals later.
Some stains will start to dilute and bleed as the vinegar goes to work. Don’t. Panic. This is what the cotton buds are for! Simply keep the area saturated with vinegar solution, and slowly soak up the running stain with the cotton buds. You’ll see that the dry cotton is just a gunk magnet, so it’s pretty fun to watch it just slurp up all of the nastiness. Repeat this until the offending stain is gone.
When stains are as light as the vinegar solution will get them or are otherwise gone, dip your paintbrush into the distilled water jar and apply a very small amount over the dampened area. Then use the paper towels and dab to soak up as much moisture as you can. This is to prevent any water spotting. If you DO end up with water stains, vinegar will take that out, too, so you can always treat the area again.
I ideally, this is a result you can hope for:

Now! Some important notes for a successful stain removal session!
1. Avoid ironing, steaming, or otherwise heat treating the kimono before stain removal. Heat can set stains, and you don’t want this to be any harder than it already is.
2. Test. Test. TEST your solution on an inside area before you start! Never experiment on visible places!
3. You might have to treat an area several times. Be patient.
4. Temper your expectations. Not every stain can be removed completely. Not every stain can be removed without destroying the dye. Not every stain can be removed at all. Sometimes your best case scenario is clean, not spotless.
I hope this was helpful! If you have any questions, please feel free to drop a comment and I’ll do my best to answer. Thanks for reading!
—————December 9th, 2022 Update—————
S’up nerds! Here we are a full almost two years after this was posted and it stands as my most linked to, most read, and most liked post on this blog. I can absolutely understand why, too. This post is a game changer for a lot of kimono that sat unloved and unworn. That makes me happy as fuck.
This is also the number one thing I get emailed, messaged, or carrier pigeoned about: Becky, what do we do if the vinegar method fails?
I do have several other cleaning tutorials, so sometimes the vinegar method just isn’t right for a stain, or it might even just need a little help. But what I’m here about today is to talk about a conversation I have a lot. You see rule number 3 up there? “You might have to treat an area several times Be patient.” Wellllll, 90% of the troubleshooting I do with people boils down to that. The third vinegar wash didn’t nuke the stain out of existence, and they gave it up as a bad job. This is not the way, my friends. So here’s some extra notes about this method that might help.
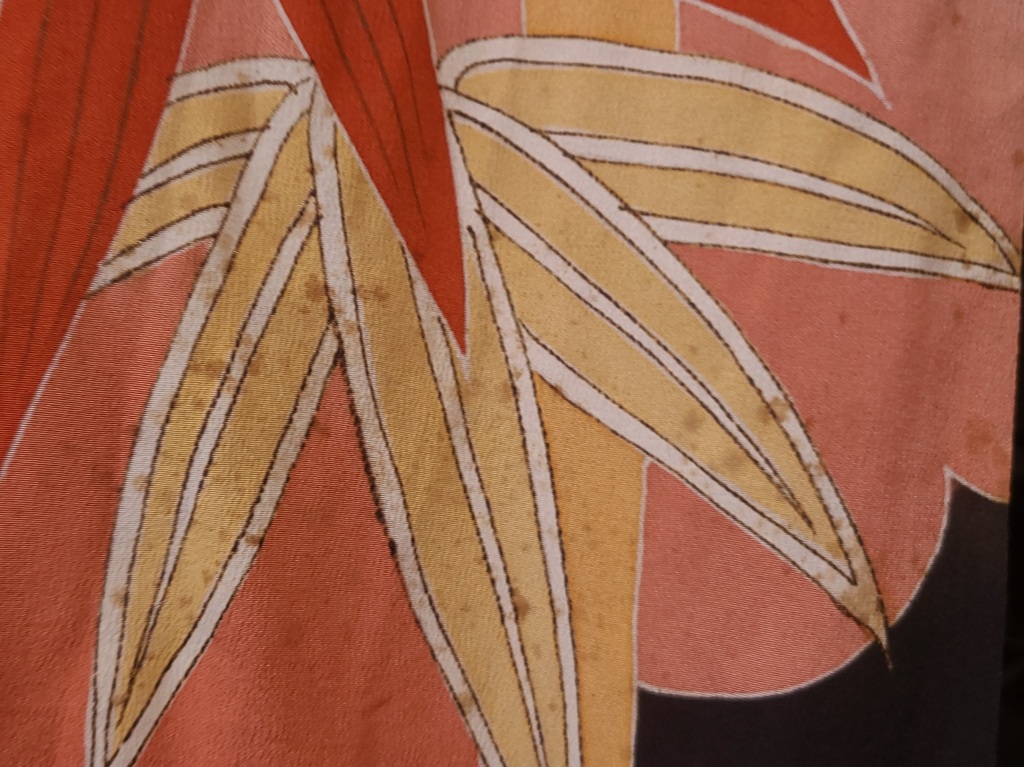
I’m actively working on this lovely little shit, who came to me just covered in those little yellow spots we all know and love. Behold:


And because I laugh when you cry I wasn’t intending for this to be a major restoration, it wasn’t going to get a blog post of its own probably until it was all clean. I just don’t see the point of making nine million blog posts about the same yellow dots and slapping them with the vinegar dick over and over. So I didn’t bother to take a lot of “before” pictures. That’s okay, the seller did.
Here is the before (seller photo) and after of three treatments:


At three treatments, the staining inside of the embroidered ume blossom is about gone, the large blob above it is lightened significantly, and the crap below the red branch is probably going to fuck off in the next round.
But here’s the money shot. The hem. Here’s where I need you to understand what “be patient” means.

I wrote on the picture.
I generally break the stain removal bits into sections, and at the hem the easiest way to do that is between seams or between large decorative elements. This was all fucking filthy when I started. The nearly recovered area has seen seven treatments with vinegar. The part that’s starting to turn sickly yellow has seen three, which gets me to the next hint:
Sometimes it will start to look worse before it looks better.
Vinegar is going to move some shit, and it will sometimes create a ring in the first two or three treatments–that’s normal. That ring is not permanent unless you iron it, and it will fuck right off in the fourth or fifth treatment. This kind of yellowing really isn’t a match for acetic acid–which is what distilled white vinegar is–but it does take some time for the solvent to do its thing. It’s also going to move some crap you didn’t know about.
Here I am at the corner of the hem, and I expect that these tiny little pale yellow fuck-tarts will be gone with the next wash.

And so it is here that I add an extra step to the vinegar method:
Step Whatever: Fuck off for a bit between treatments while it’s still wet.
You’ve got this. Keep going.
Bonus Round:
The next question I get is often: Becky I saw a YouTube video where it was recommended to use cleaning benzene. I’m afraid to use vinegar, where do I get cleaning benzene in the US/Canada/Wherever?
-Deep breath-
Yes, you can get it in many places no problem. What I know about getting in the USA is that you can. With a permit. In a lab. Because it is a highly toxic and dangerous carcinogen. Benzene can give you blood cancer after prolonged exposure at concentrations as little as 10ppm. You can’t get it in most countries because it’s a major health hazard. Personally, with so many solvents out there that are safe on silk, I don’t recommend rubbing diluted jet fuel on things.
Meanwhile if the vinegar doesn’t work on the stains, you can at least make salt and vinegar chips with it.
This is not a demand to stop asking me questions, by the way. I live for this shit, and it’s my favorite subject. I answer every email I get, and I’m always ready to help and get weird with you. But I thought it might be helpful to remind people that sometimes shit takes time, and that kimono are not made of magic: they’re made of matter! Keep the questions coming!

Do you have a chart on what solutions work best for different types of stains?
For instance: what treatments work best for
soy sauce, pen, sweat, blood, water spots, etc.
LikeLiked by 1 person
I don’t. I have a notebook of scribblings and results. Until recently, I haven’t bothered to sort it for anyone’s purposes but my own.
I am, however, working on doing exactly that. So I will have a post soon with a more in depth write up on what helps, what doesn’t, and what to avoid.
Vinegar actually works on most of those! But it’s not instant. It’s important to give it time as many stains often take a few rounds of treatment.
LikeLike
Did I miss this list or is it not soon yet? I am wondering about water spots — well, actually saliva spots!! Indeed — I did the unthinkable, and licked the spots (I knew what they were) and the spots happily easily disappeared. However, the spots that I wetted with my tongue now linger on the silk; look to be a slightly different texture or sheen than the non-wetted rest of the kimono. (I should have tested by licking a seam I suppose…my bad!) It is a cream background area that mostly does not show under the obi… Will dabbing those areas with vinegar return the fabric to “normal”?
LikeLike
LOL
Dab with the 50/50 vinegar and distilled water mix, give it a few minutes to do its magic, then dab it again, then press it out with paper towels like it owes you money. That should do the trick. 💜
LikeLike
Thank You for replying to my question about saliva spots — your solution worked GREAT! I can see the faintest outline in a photo I took but my naked eye cannot see anything remaining after the vinegar trick.
LikeLike
I ugly laugh every time at ‘shit else’.
Anyway so I have an off white ro piece with some brown stains splattered in the worst places. They lightened a little after some ‘shout’ and a soak with some retro detergent (seriously I thought it was synthetic but now I fear I’ve made a mistake) and today I thought I’d snag some RIT products, but my local store had nothing.
But I have vinegar, so will be giving that a try while I order some of the other things you’ve recommended. After shattering some lovely meisen many years ago, I stopped trying to clean vintage pieces but time heals all wounds so I’ll try again.
LikeLiked by 1 person
YES! Kick its ass!
Key to remember: vinegar takes time. The best thing to do is fuck off for a bit here and there while the solvent does its job.
Good luck!
LikeLike
I’m super excited to try this! I have a vintage haori that is in perfect condition except that some previous wearer wasn’t paying attention and dragged the corner of her sleeve into her coffee cup (or possibly black tea). Time for a science experiment… 😁
LikeLike
Hi!
For wool, consider adding a small amount of glycerin to the vinegar solution. This will lubricate the stain, and help it lift.
There are many versions of the vinegar method that I haven’t published yet, but if anyone ever has any questions about how to approach a stain, I check my email daily! 💜
LikeLike
Hi! I was able to get some mystery spots out by trying your methods; thanks a million! I’m so excited it’s wearable now, and I don’t feel as anxious to wear it. I’ve stuck mostly with 洗える着物 because of fear of stains for outings, but now I can wear my silk out and about! 👘
LikeLiked by 1 person
Wonderful! I love to hear it!
LikeLike
Hi, I recently bought a vintage kimono and it has a big stain at the front that seems to be the dye that bled. I will try your method, but wondering if I should dry clean it first at all? or after for that matter? Thanks for your advice.
LikeLike
I don’t think vinegar will do much for dye bleed. Usually what needs to be done is something to catch the dye or reductive bleaching. If your dry cleaner can do that, then you can try that.
LikeLike